Quick Start
In this section, we will follow these steps:
- Register an account on the Steel EMS platform.
- Create a factory and switch to it.
- Add areas, defect reasons.
- Create quality standards, quality indicators, and semi-finished product specifications.
- Create castings, product dimensions, and product models.
- Create rolling plans and material specifications.
- Create an order and add finished products.
- Perform cover quality inspection.
- Notify for shipment.
Note: This guide aims to explain the main concepts and how they work together in the user interface.
Steps
1. Register an account on the Steel EMS platform.
Follow these steps to register a user:
- First, click and open the KMES SYSTEM official website.
- Click "Login" in the upper right corner of the page.
- On the login page, click the "Register" button.
On the registration page, fill in the following information:
- Username must be a valid email address. Note that the username cannot be modified later.
- Password must be at least 8 characters long and contain at least one letter and one number.
- Organization code is used to uniquely identify your organization.
- After submitting the registration, you will be redirected to the homepage.

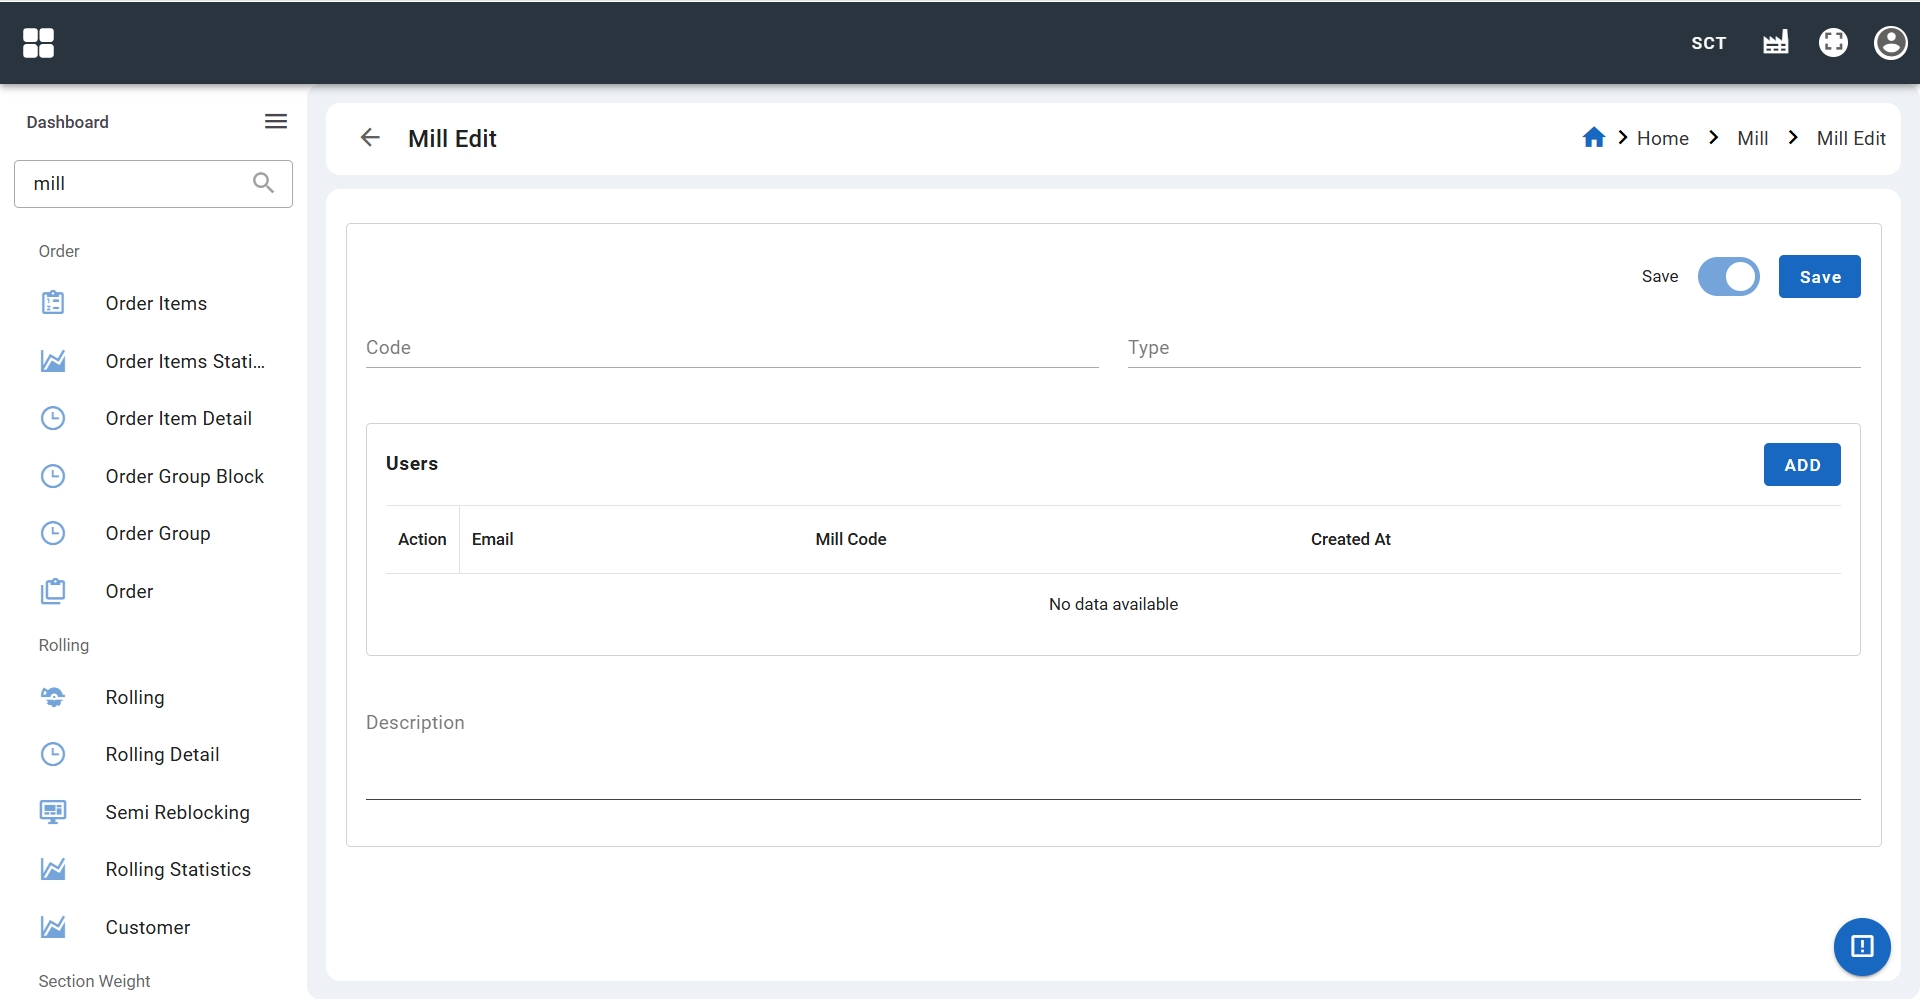
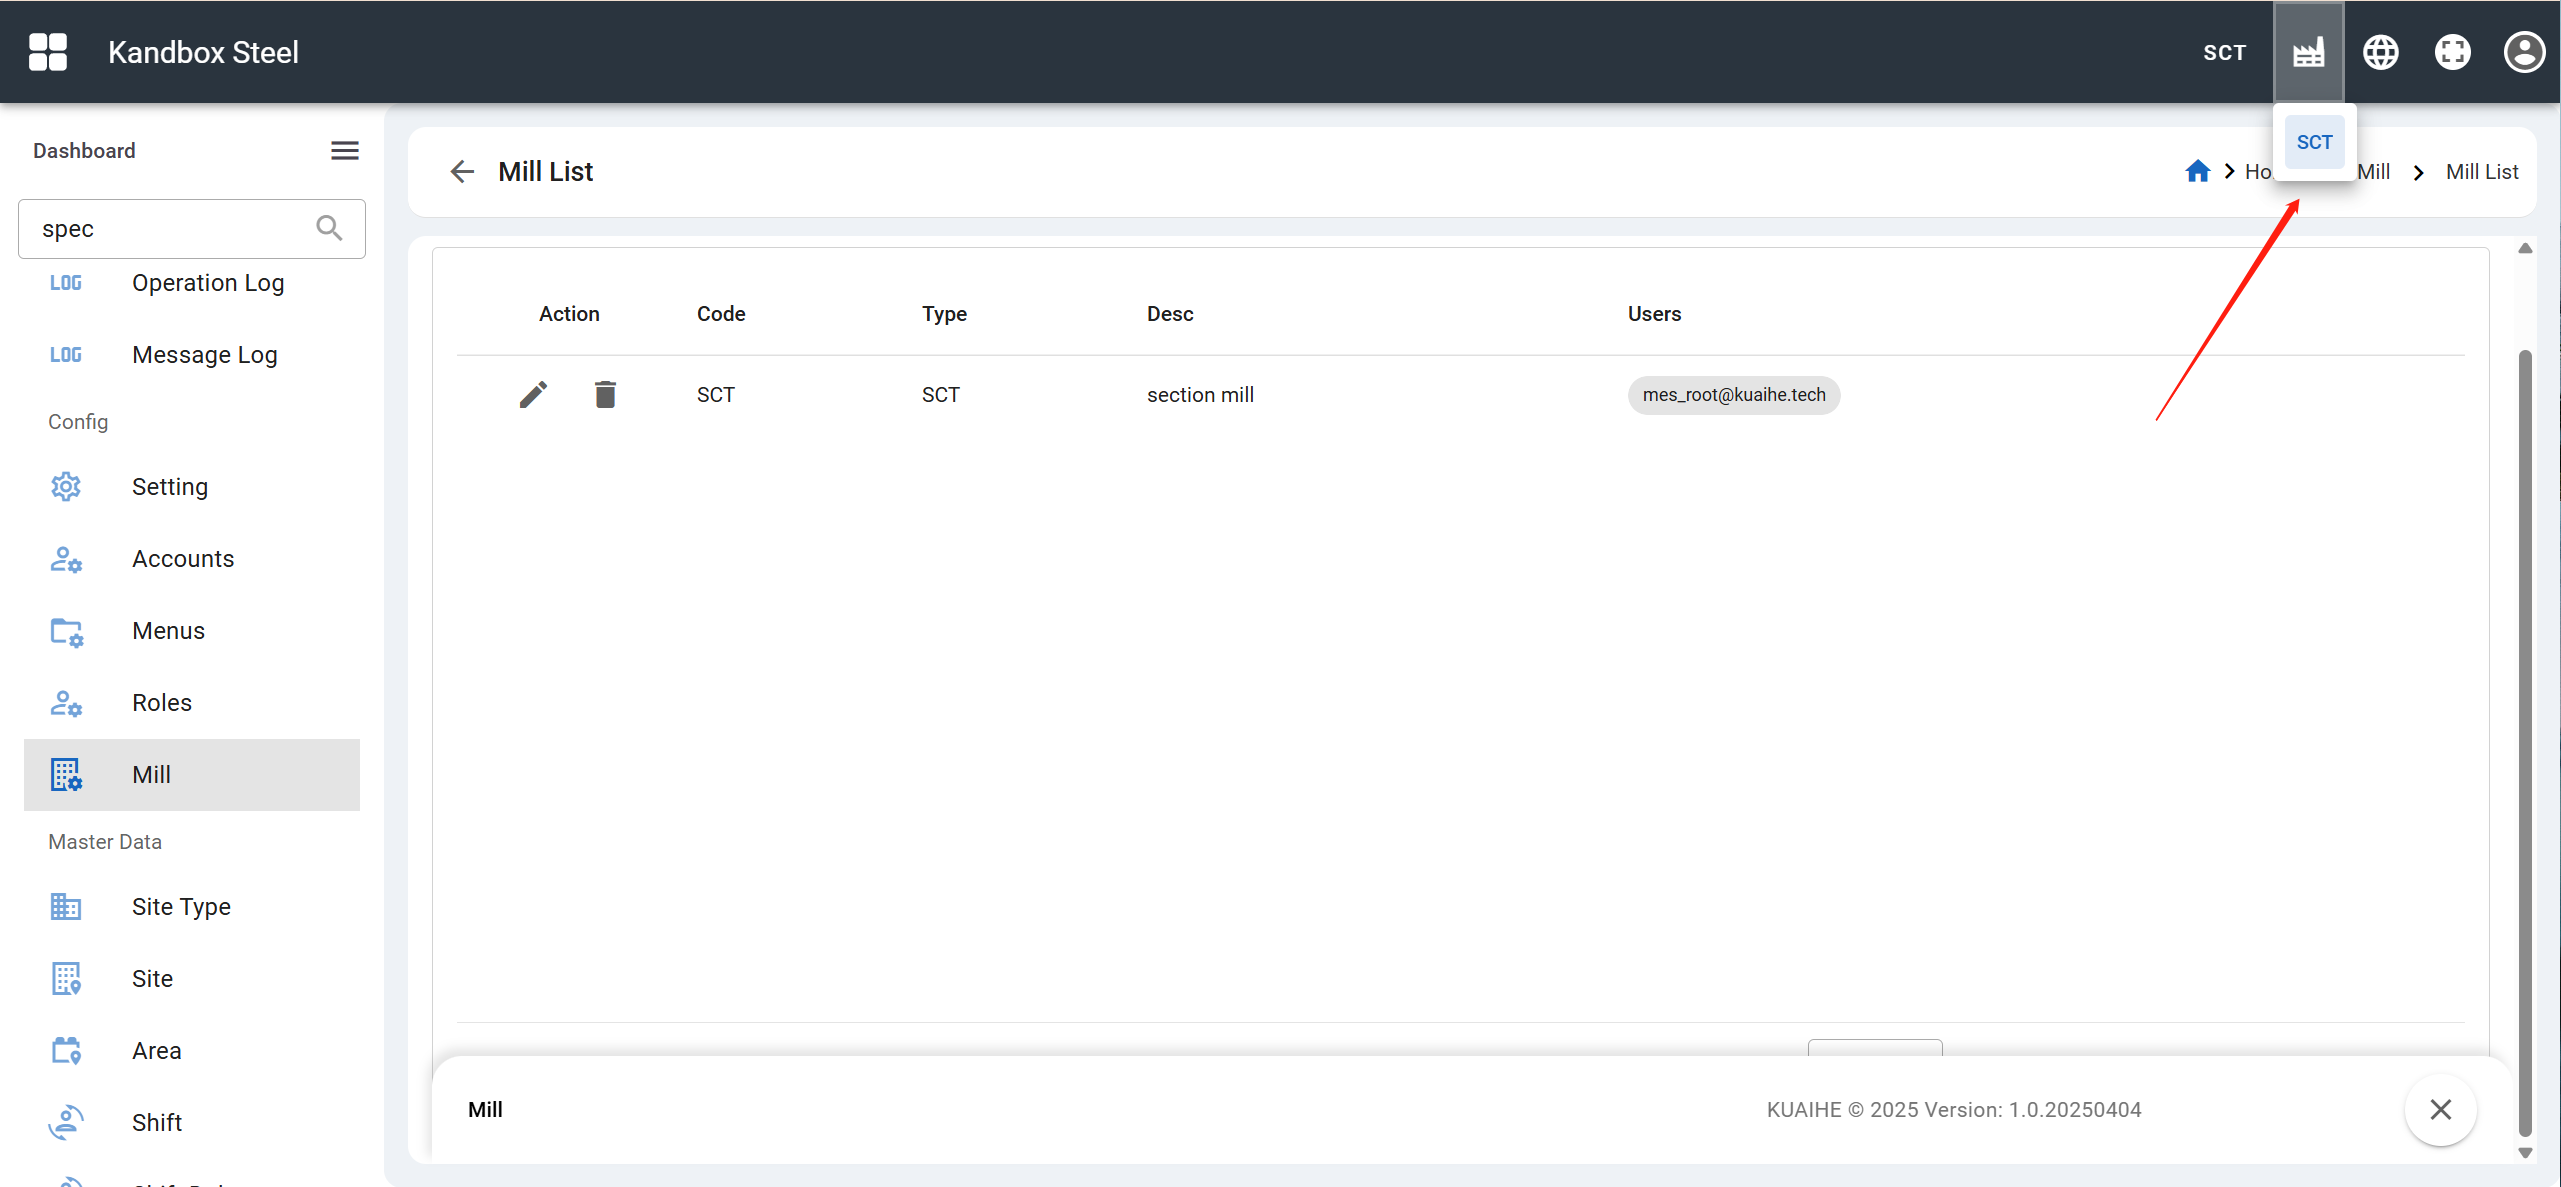
2. Create a factory and switch to it.
- Find the Mill menu item from the sidebar.
- Click the New button in the upper right corner to enter the factory creation page.
- Fill in the relevant information and submit.
- Switch the factory.
3. Add areas and defect reasons.
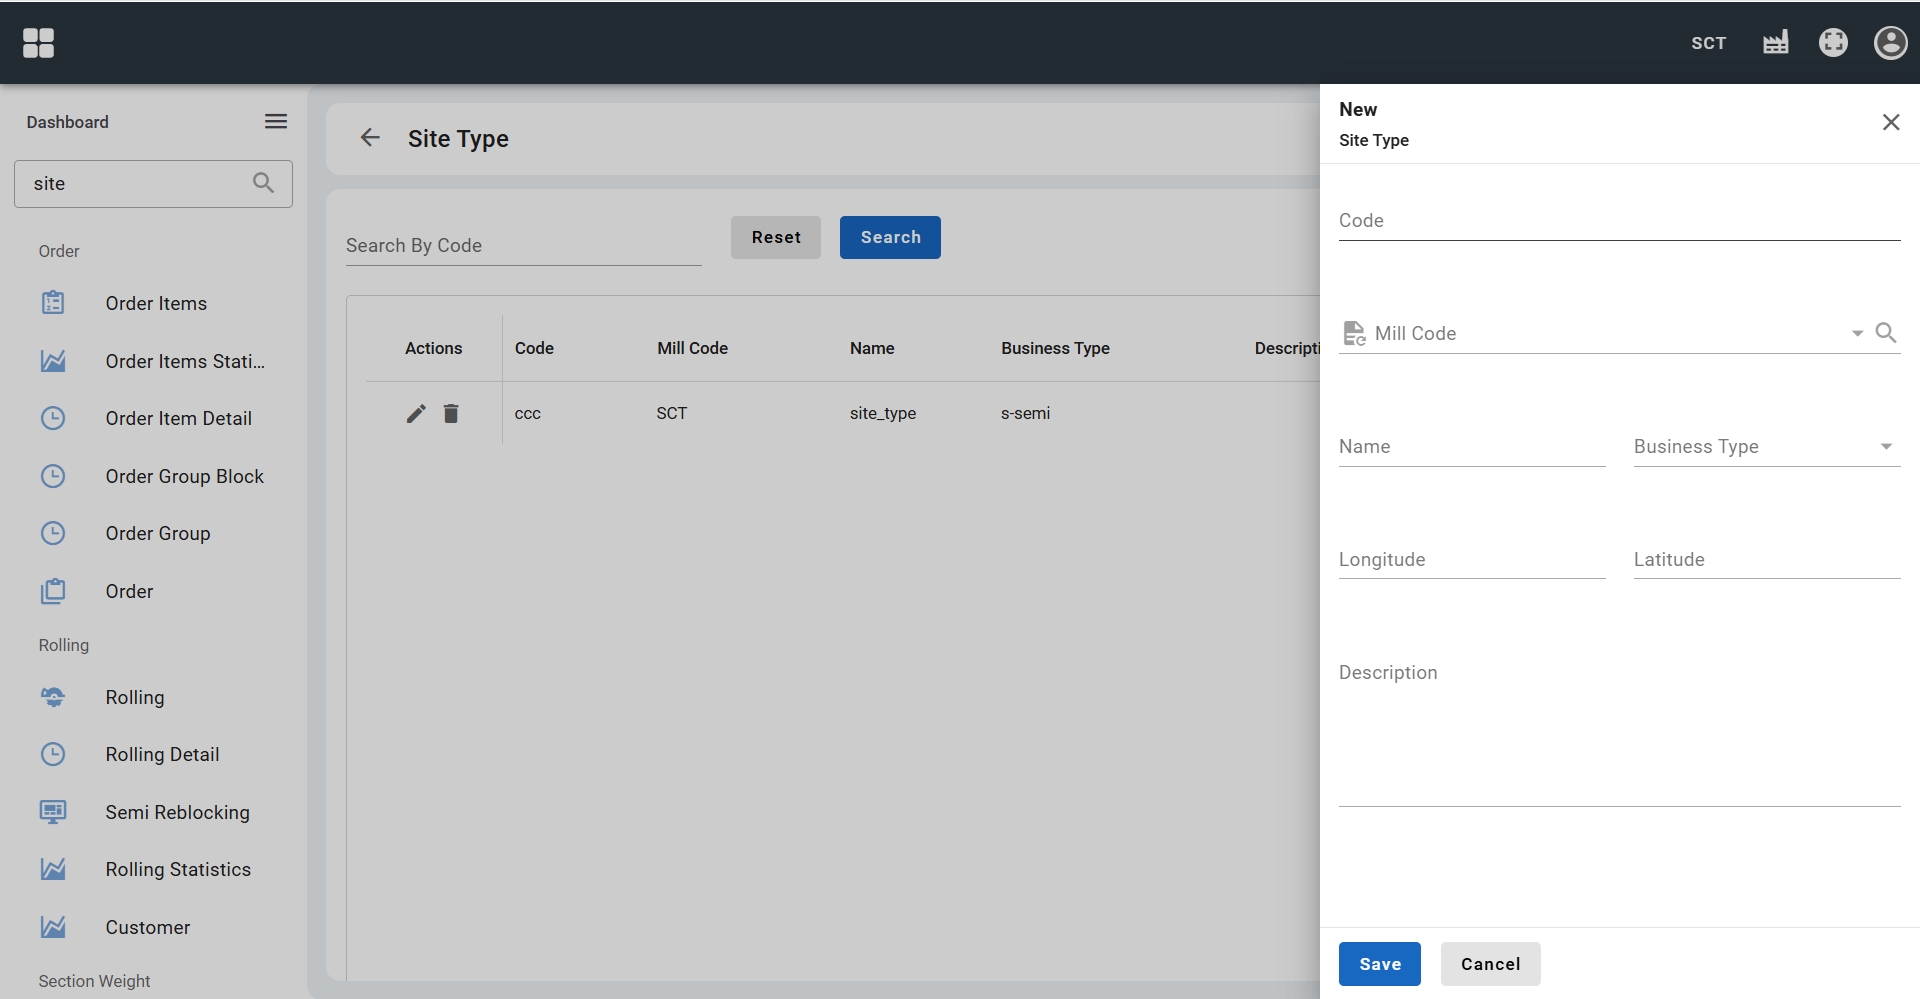
3.1. Add areas.
Note: Areas are generally divided into three levels, as shown below:
- Site Type: xxxx
- Site: xxxx
- Area: xxxx
- Site: xxxx
- Area: xxxx
- Area: xxxx
- Site: xxxx
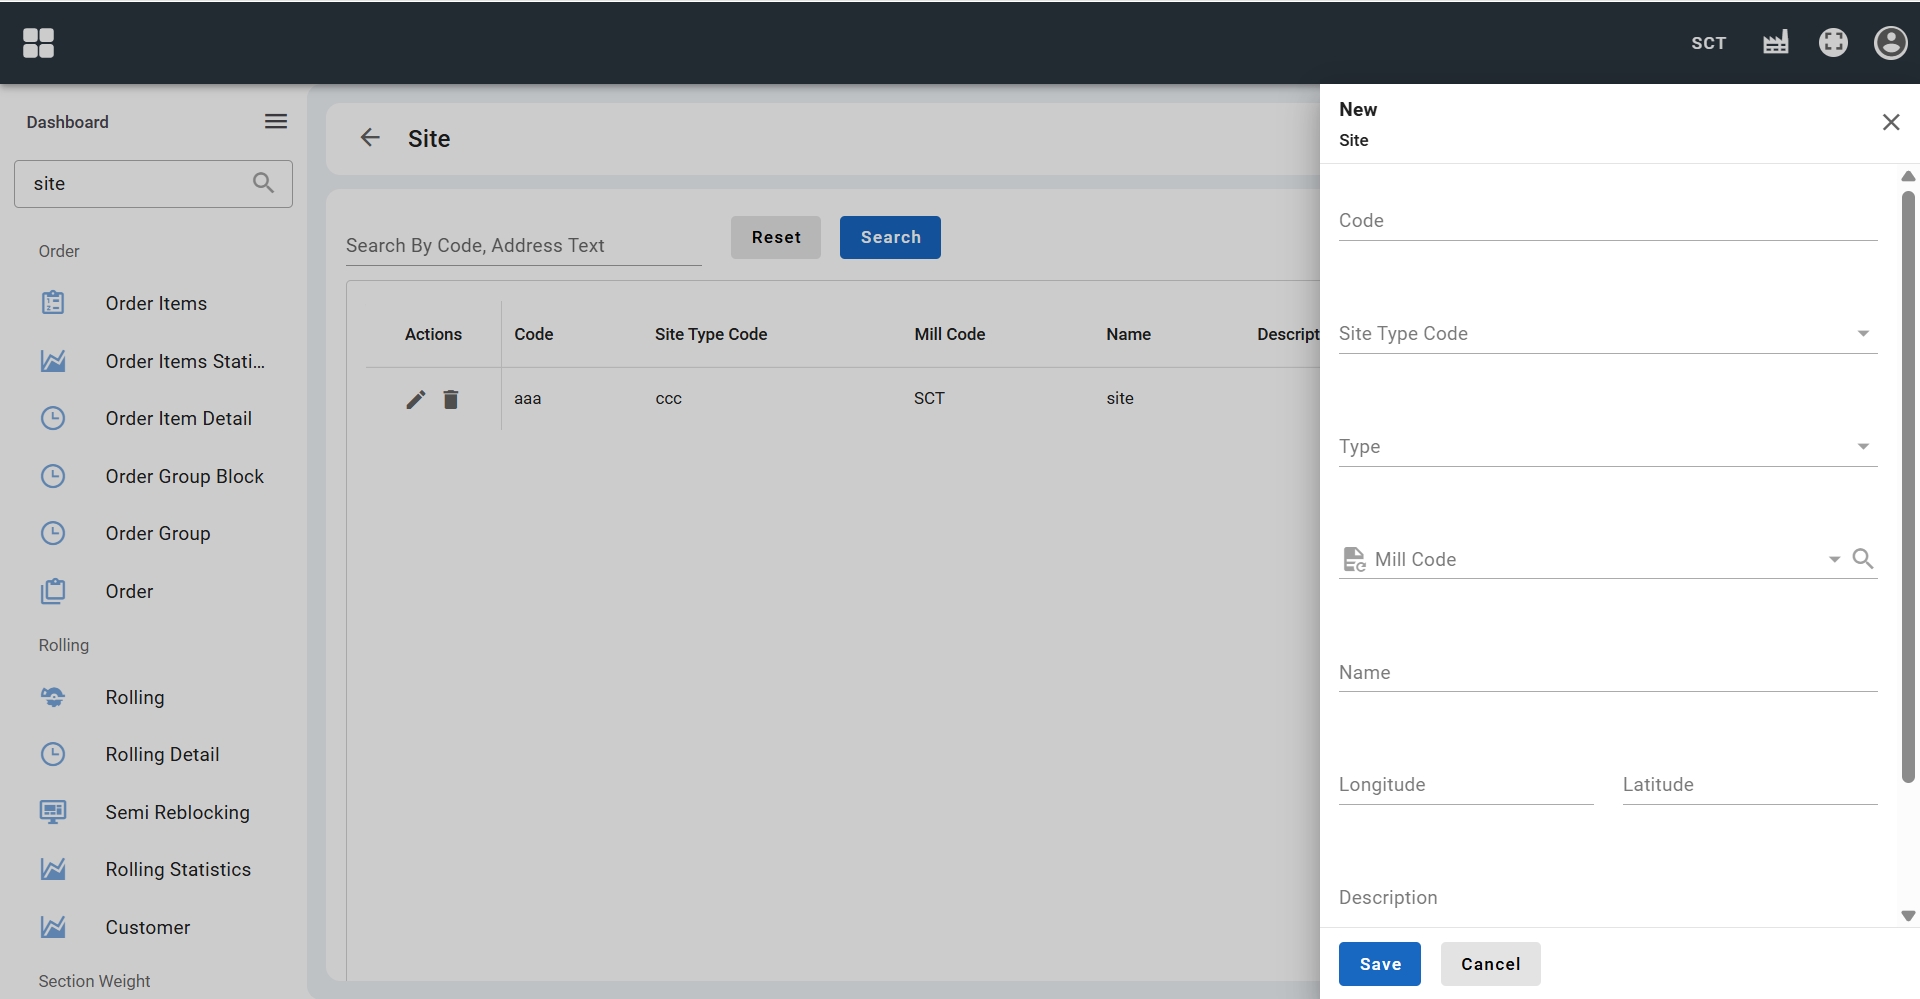
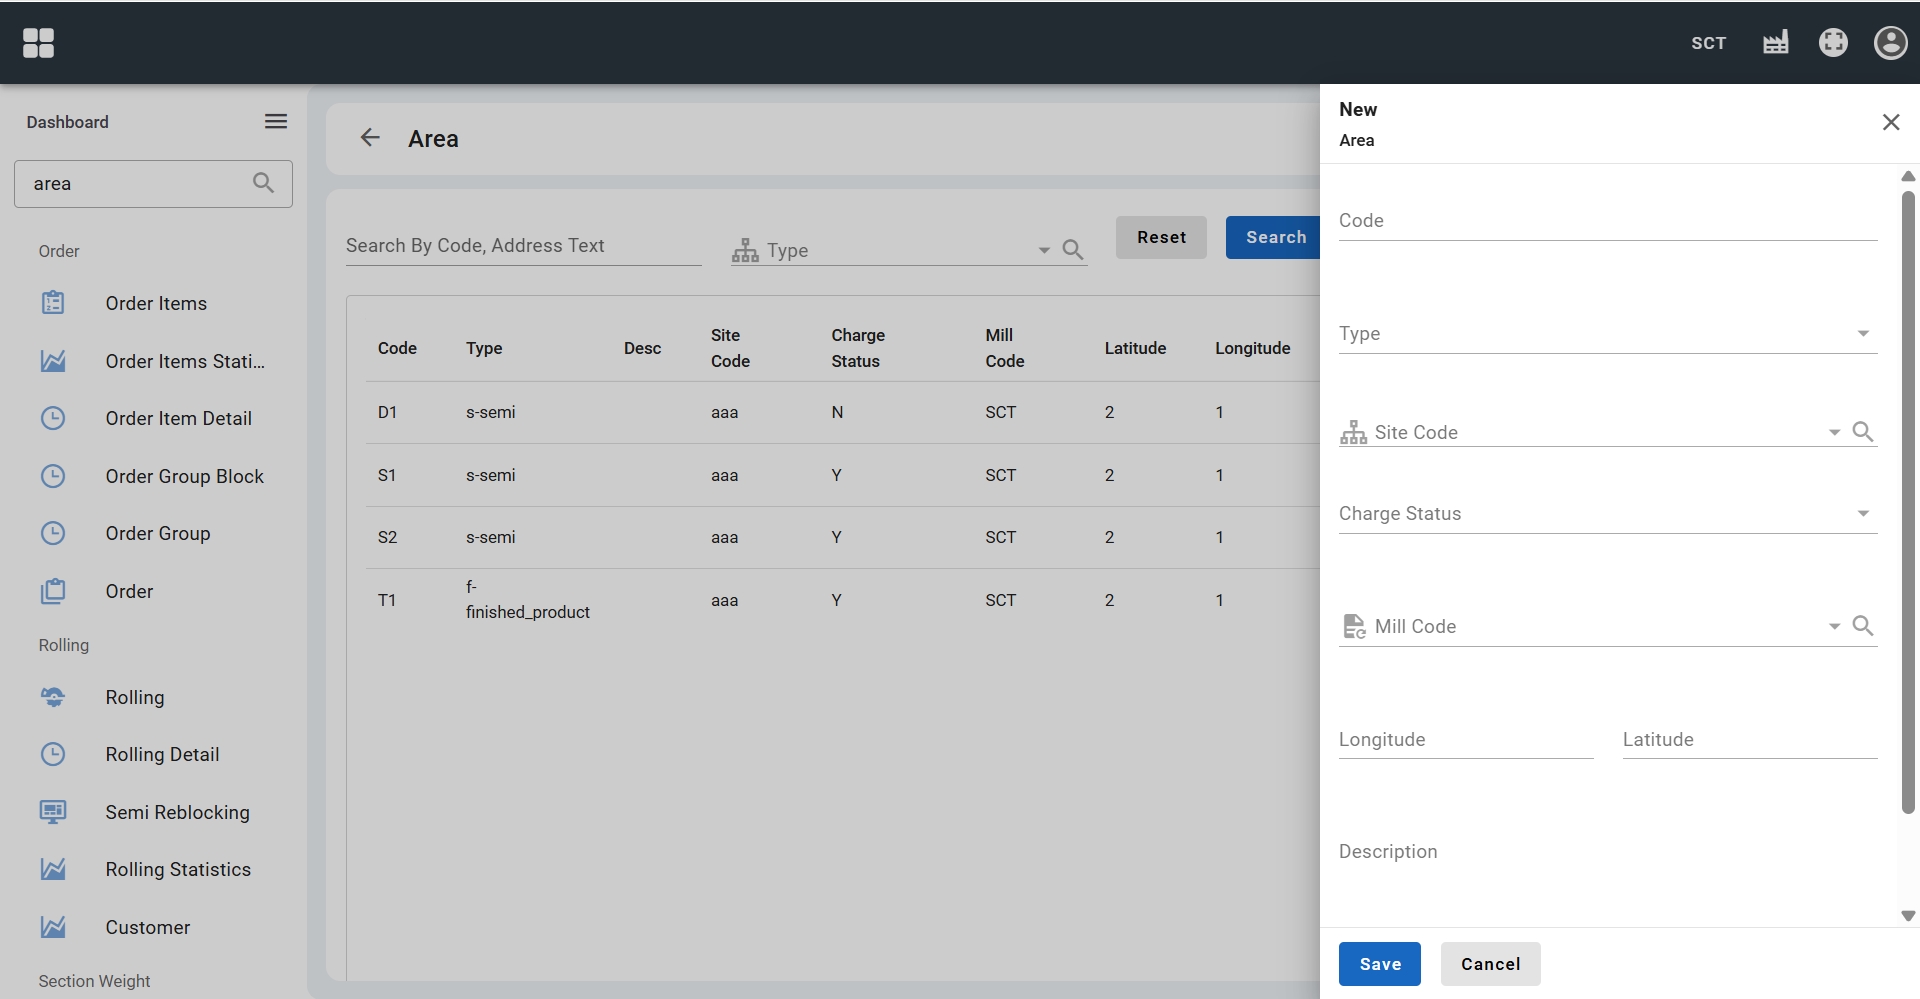
- Find Site Type, Site, and Area menu items from the sidebar
- Click the New button in the upper right corner
- First add site type data, then site data, and finally area data
3.2. Add defect reasons
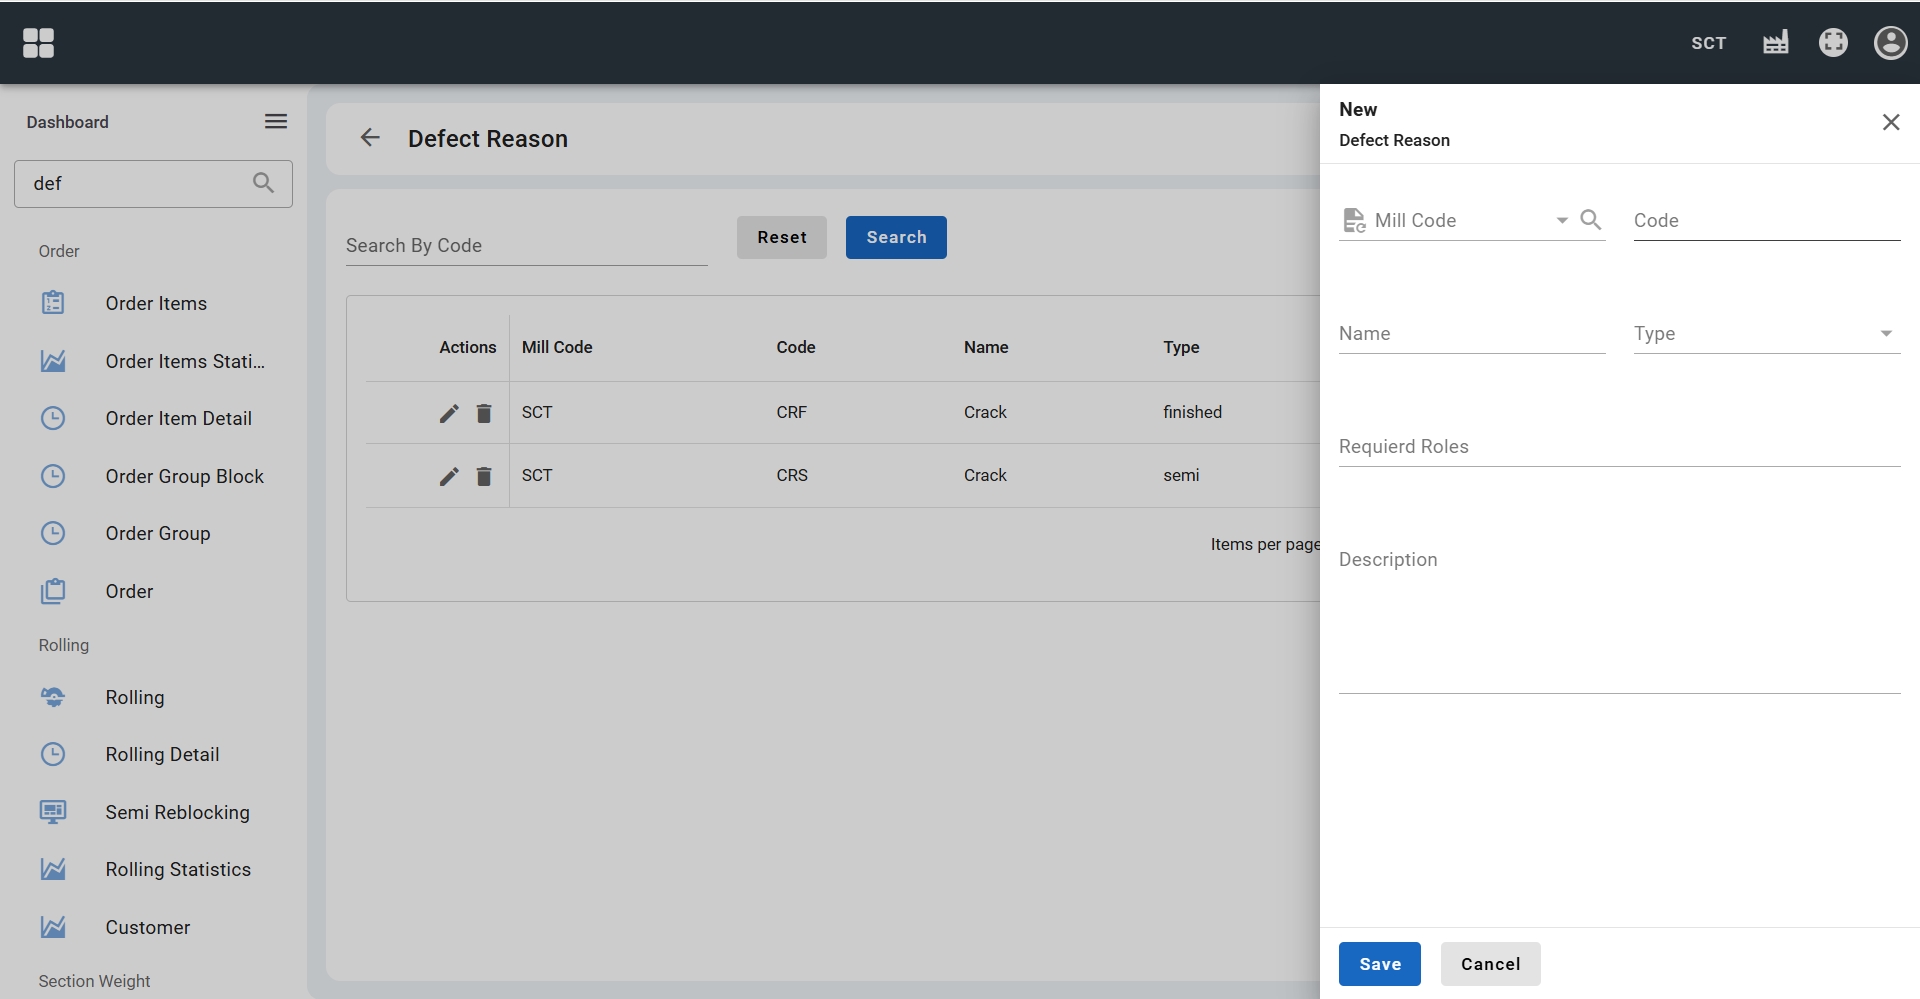
- Find Defect Reason menu item from the sidebar
- Click the New button in the upper right corner
- Add defect reason data
4. Create quality, quality element and semi size
Note: Relationship between quality standards and quality indicators (quality standards should be added first, then quality indicators), as shown below:
- Quality: xxxx
- Quality Element: xxxx
4.1. Add quality
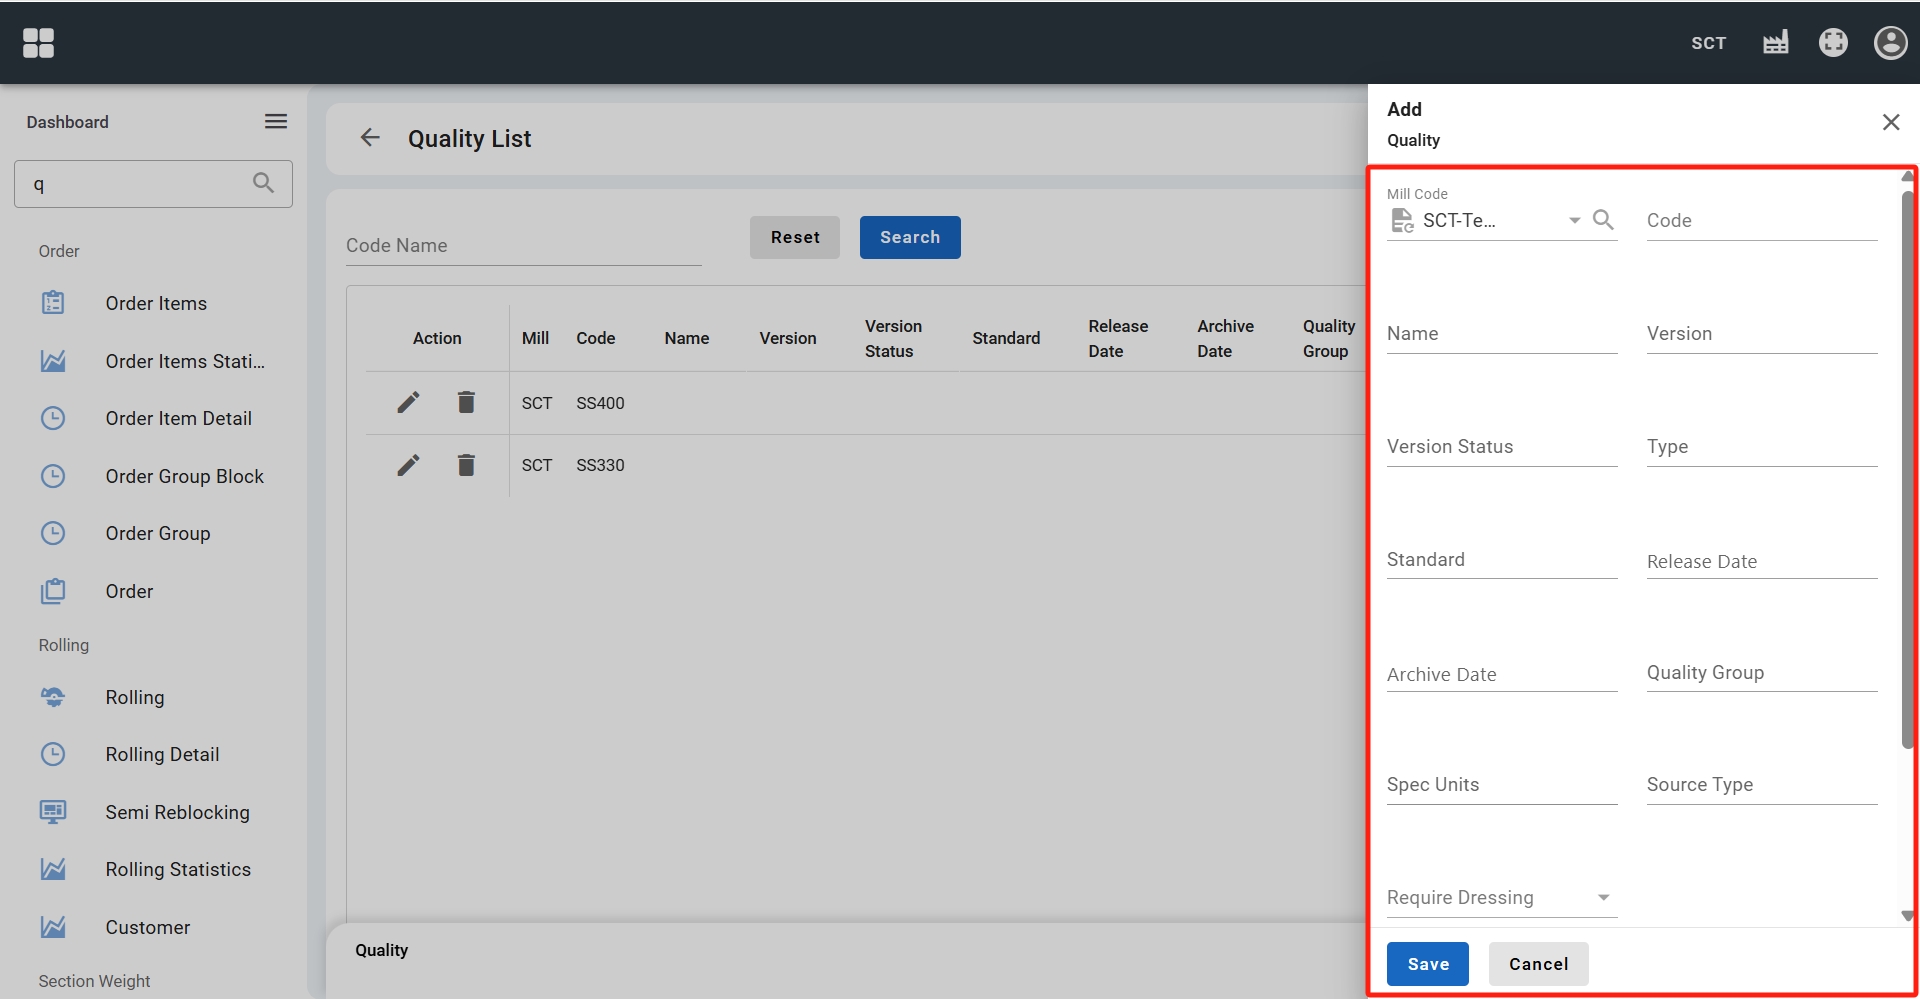
- Find Quality menu item from the sidebar.
- Click the New button in the upper right corner to enter the quality standard creation page.
- Fill in the relevant information and submit.
4.2. Add quality element
- Find Quality Element menu item from the sidebar.
- Click the New button in the upper right corner to enter the quality indicator creation page.
- Fill in the relevant information and submit.

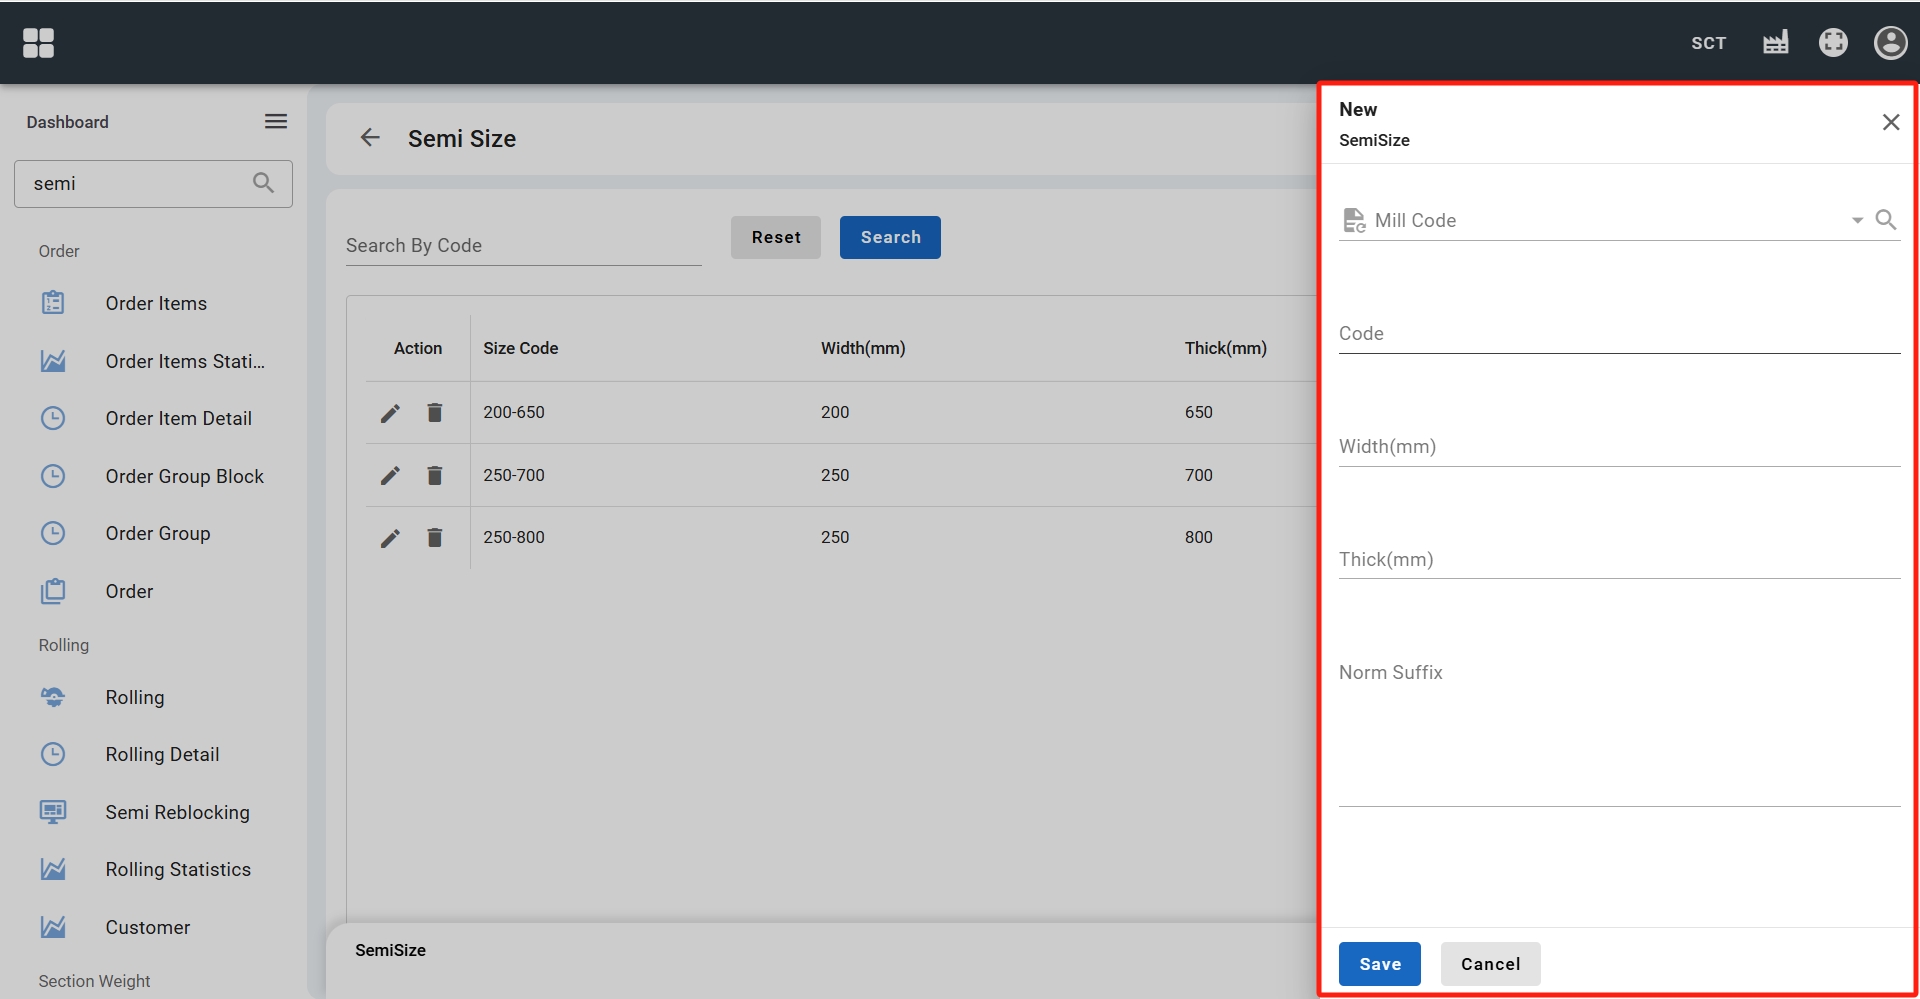
4.3. Add semi size
- Find Semi Size menu item from the sidebar.
- Click the New button in the upper right corner to enter the semi-finished product specification creation page.
- Fill in the relevant information and submit.
5. Create cast, product size and product type
Note: Relationship between product dimensions and product models, as shown below:
- Product Type (model prefix), Product Category (section specification): xxxx-xxxx-xxxx
- Product Dimension: xxxx-xxxx-xxxx
- Product Model (product dimension + product weight): xxxx-xxxx-xxxx-xxxx
- Product Dimension: xxxx-xxxx-xxxx
First create Product Type (model prefix) and Product Category (section specification), then create Product Dimension, and finally create Product Model.
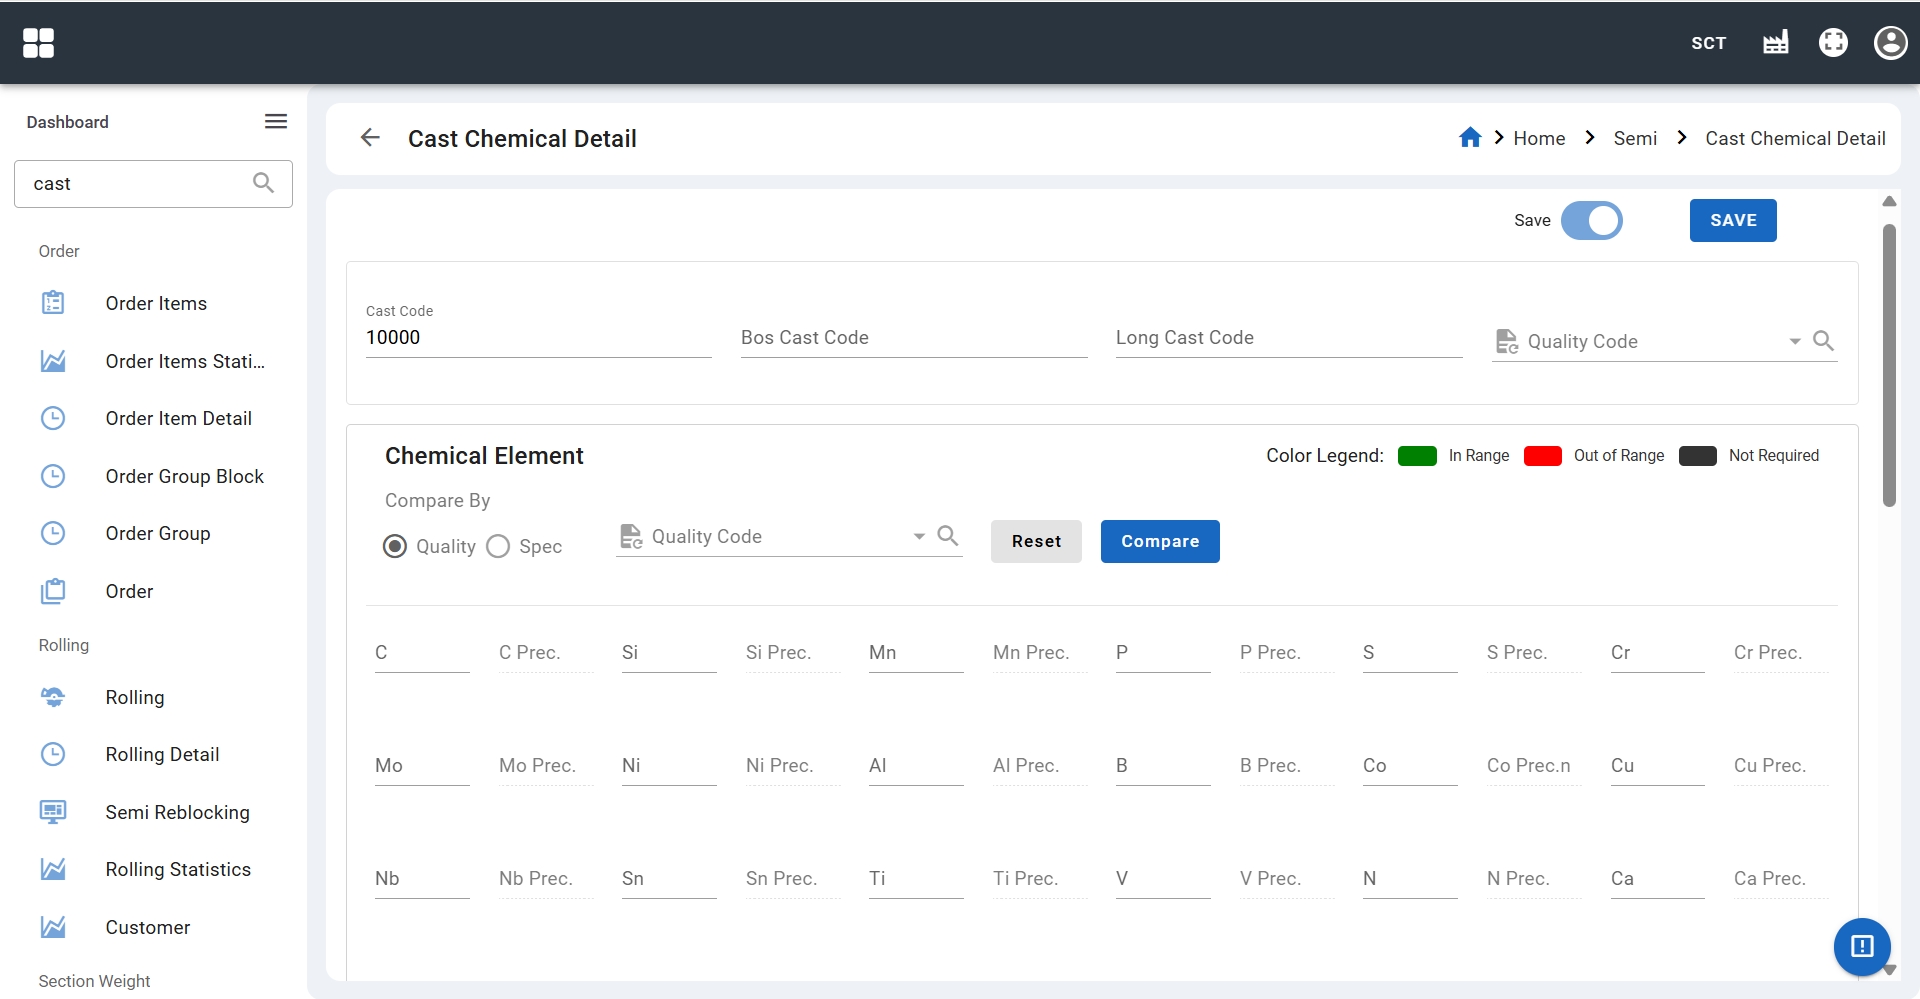
5.1. Add cast
- Find Cast menu item from the sidebar.
- Click the New button in the upper right corner to enter the casting creation page.
- Fill in the relevant information and submit.
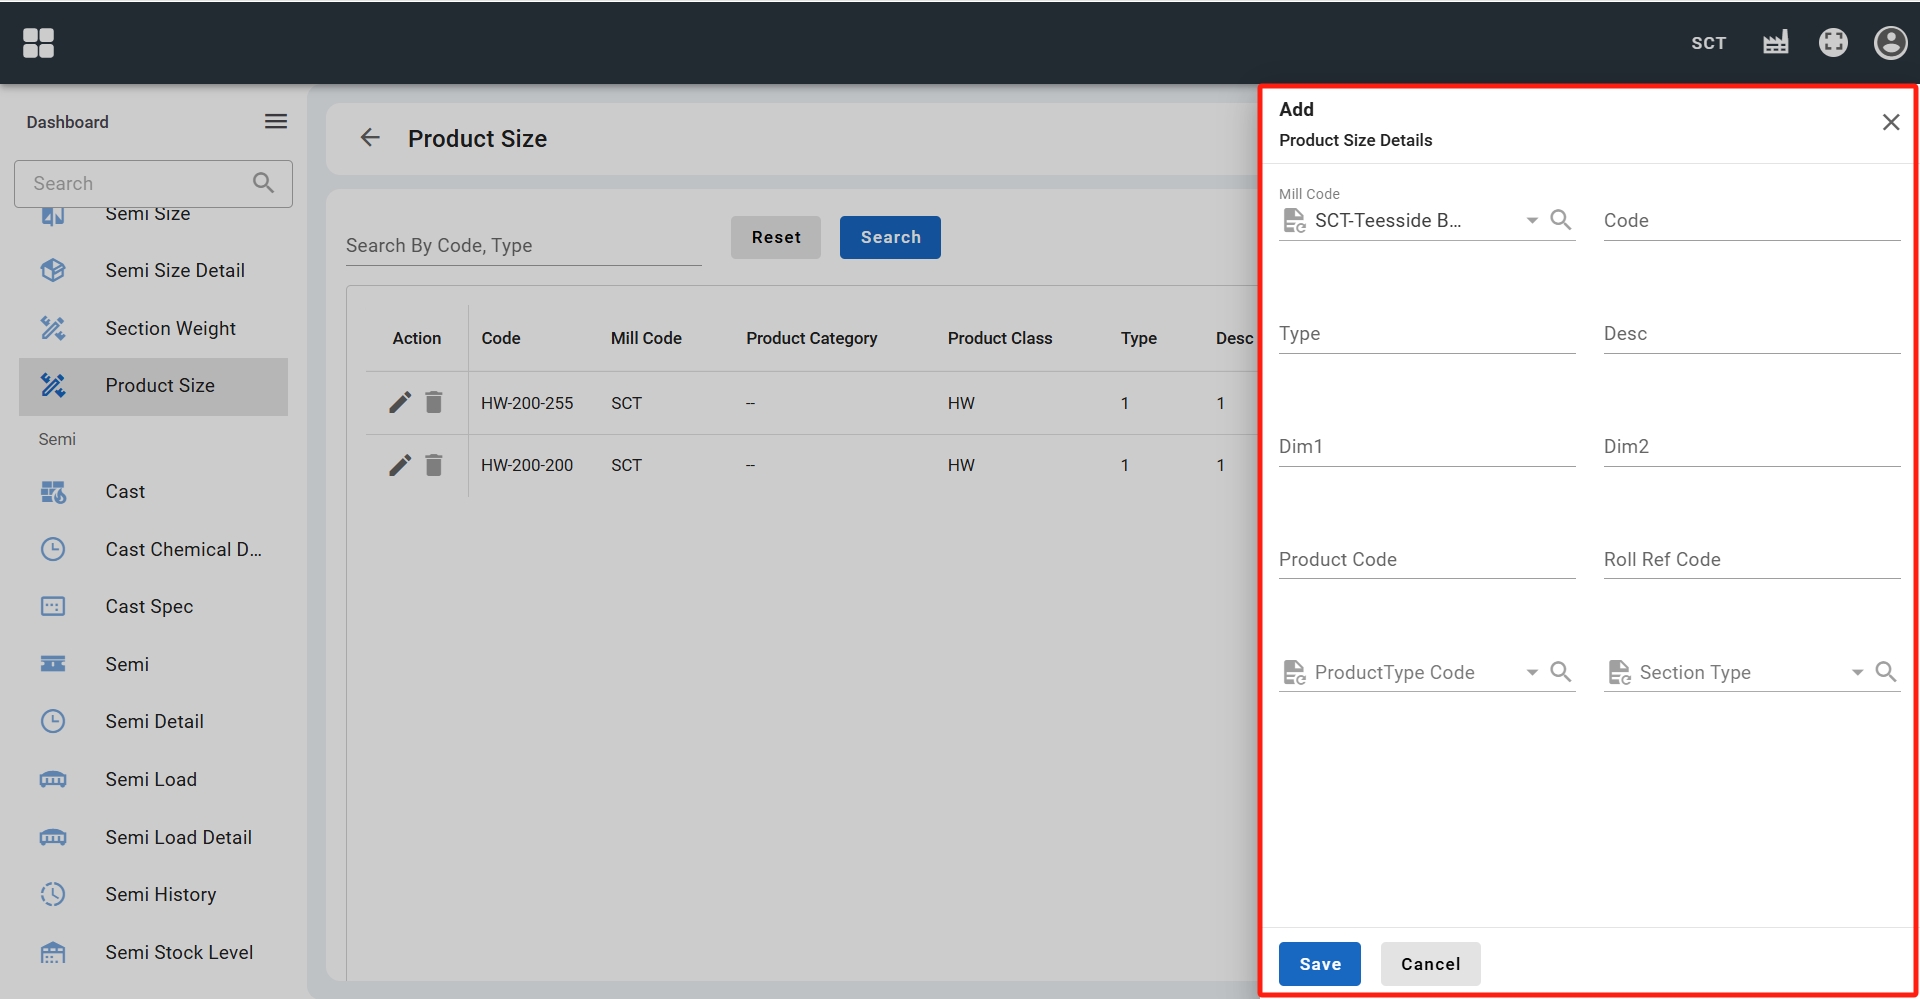
5.2. Add product size
- First add
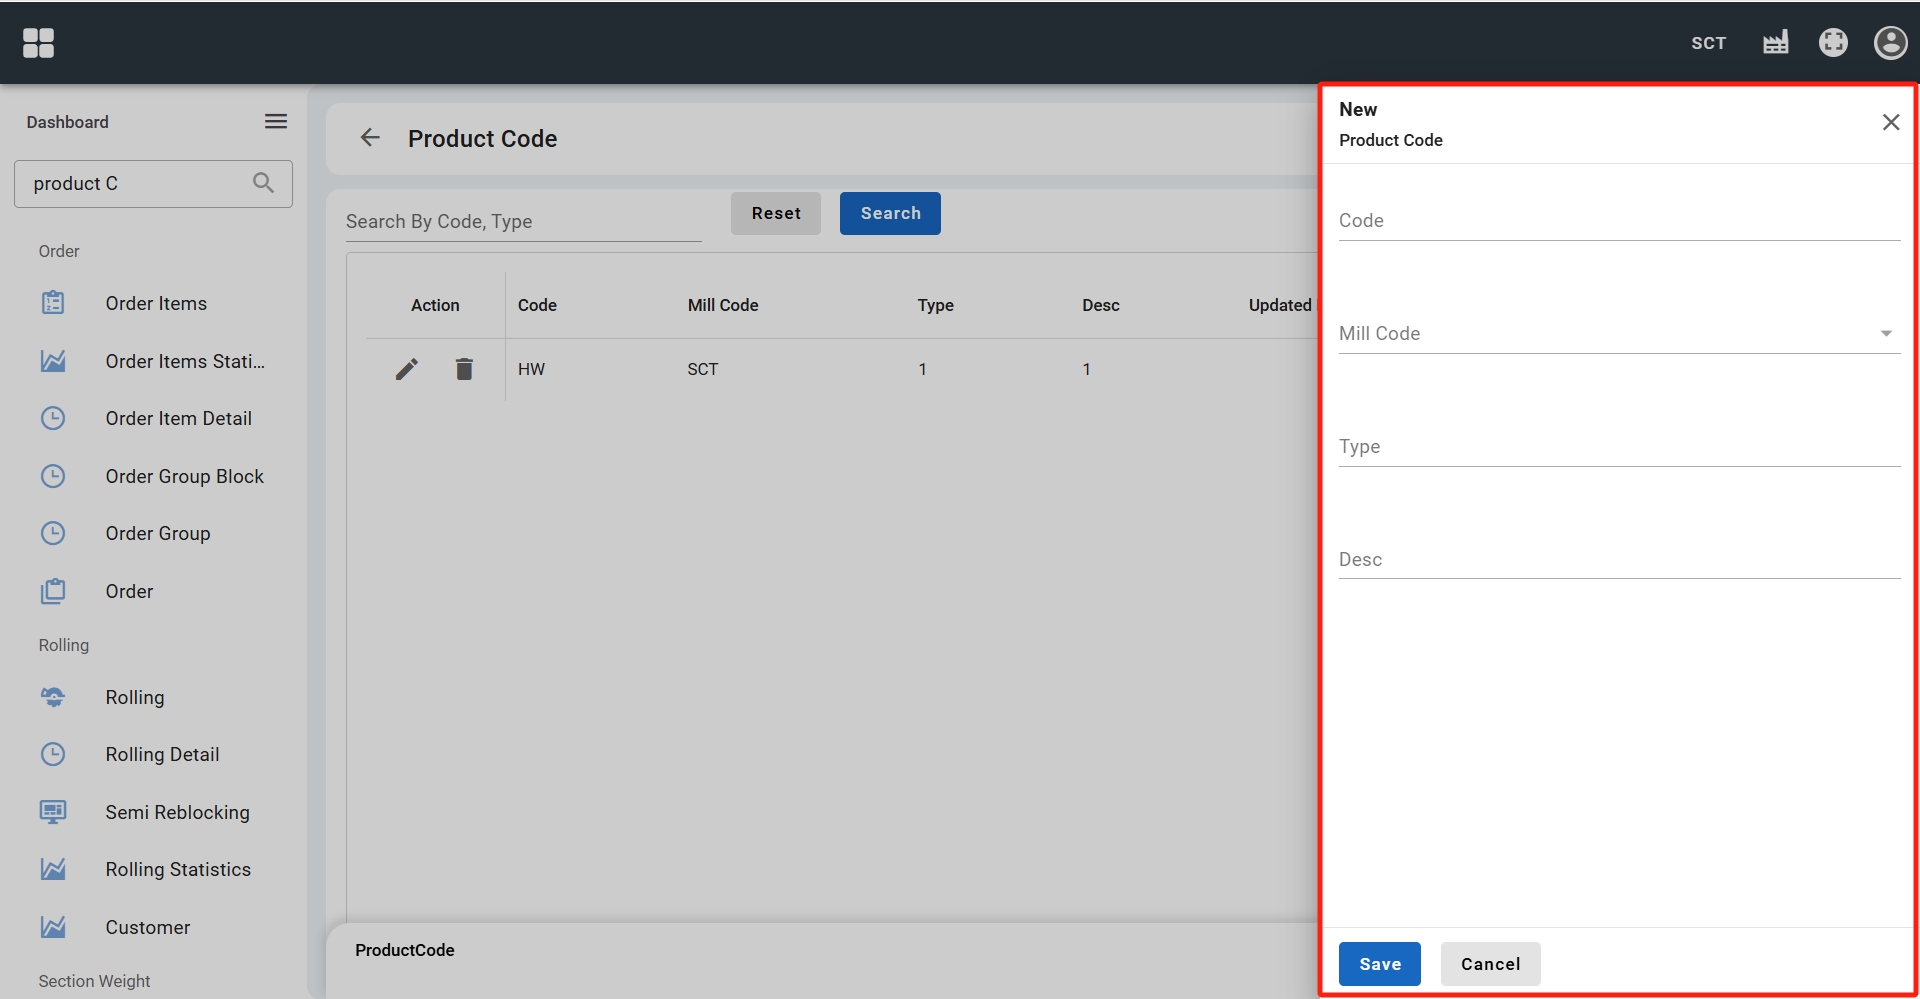
Product Type (model prefix)andProduct Category (section specification), then addProduct Dimension. - Find Product Code menu item from the sidebar.
- Click the New button in the upper right corner to enter the product type creation page.
- Fill in the relevant information and submit.
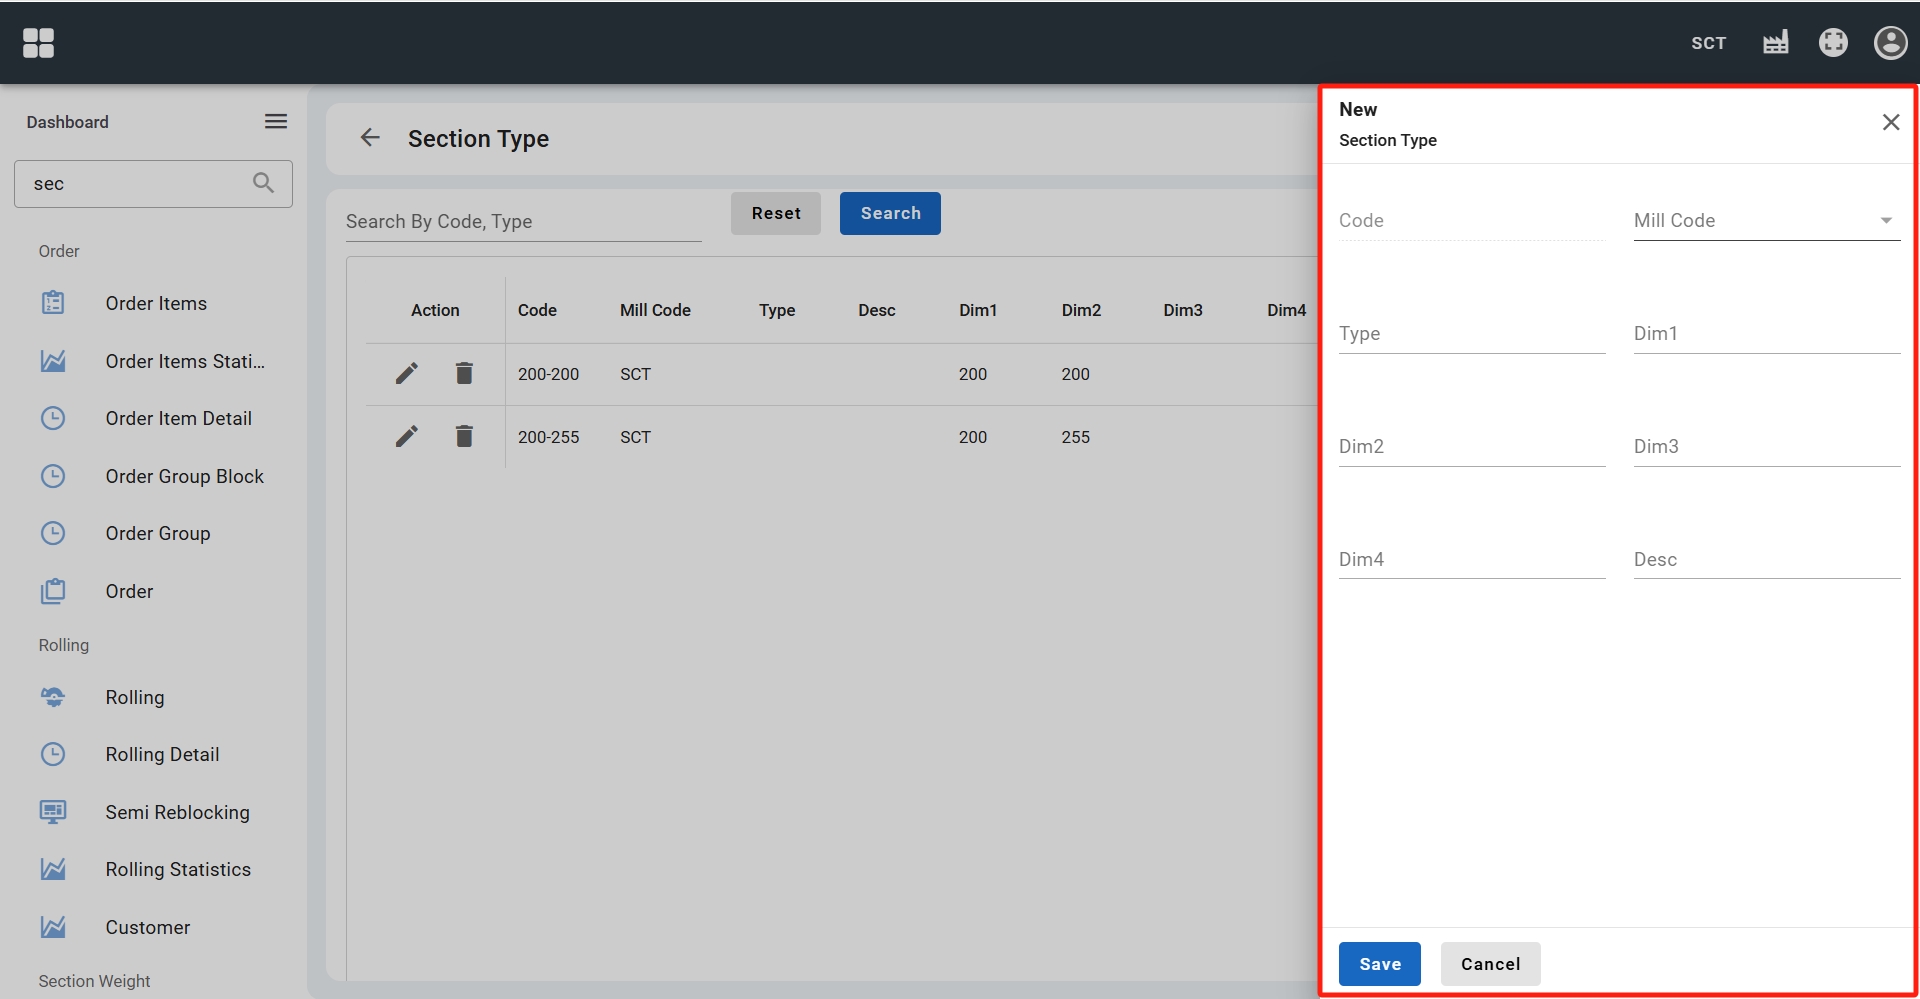
- Find Section Type menu item from the sidebar.
- Click the New button in the upper right corner to enter the product category creation page.
- Fill in the relevant information and submit.
- Find Product Size menu item from the sidebar.
- Click the New button in the upper right corner to enter the product dimension creation page.
- Fill in the relevant information and submit.
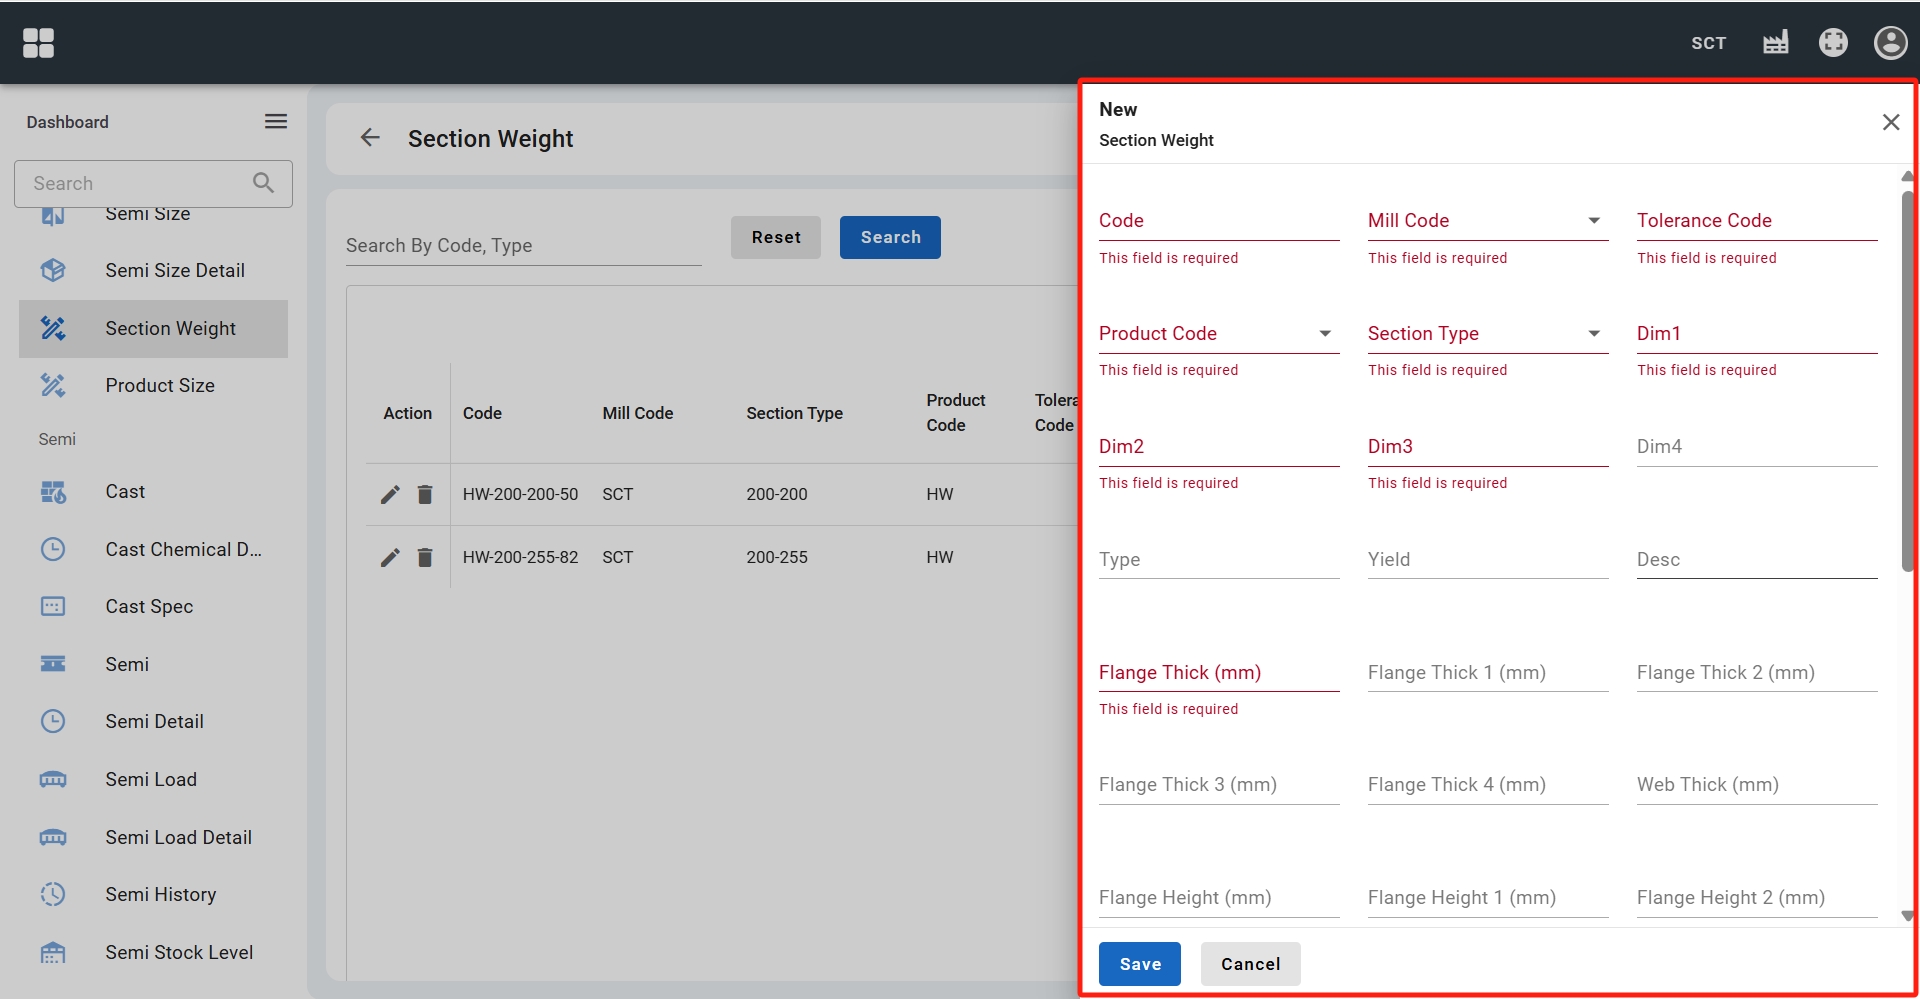
5.3. Add product type
- Find Section Weight menu item from the sidebar.
- Click the New button in the upper right corner to enter the product model creation page.
- Fill in the relevant information and submit.
6. Create rolling and spec
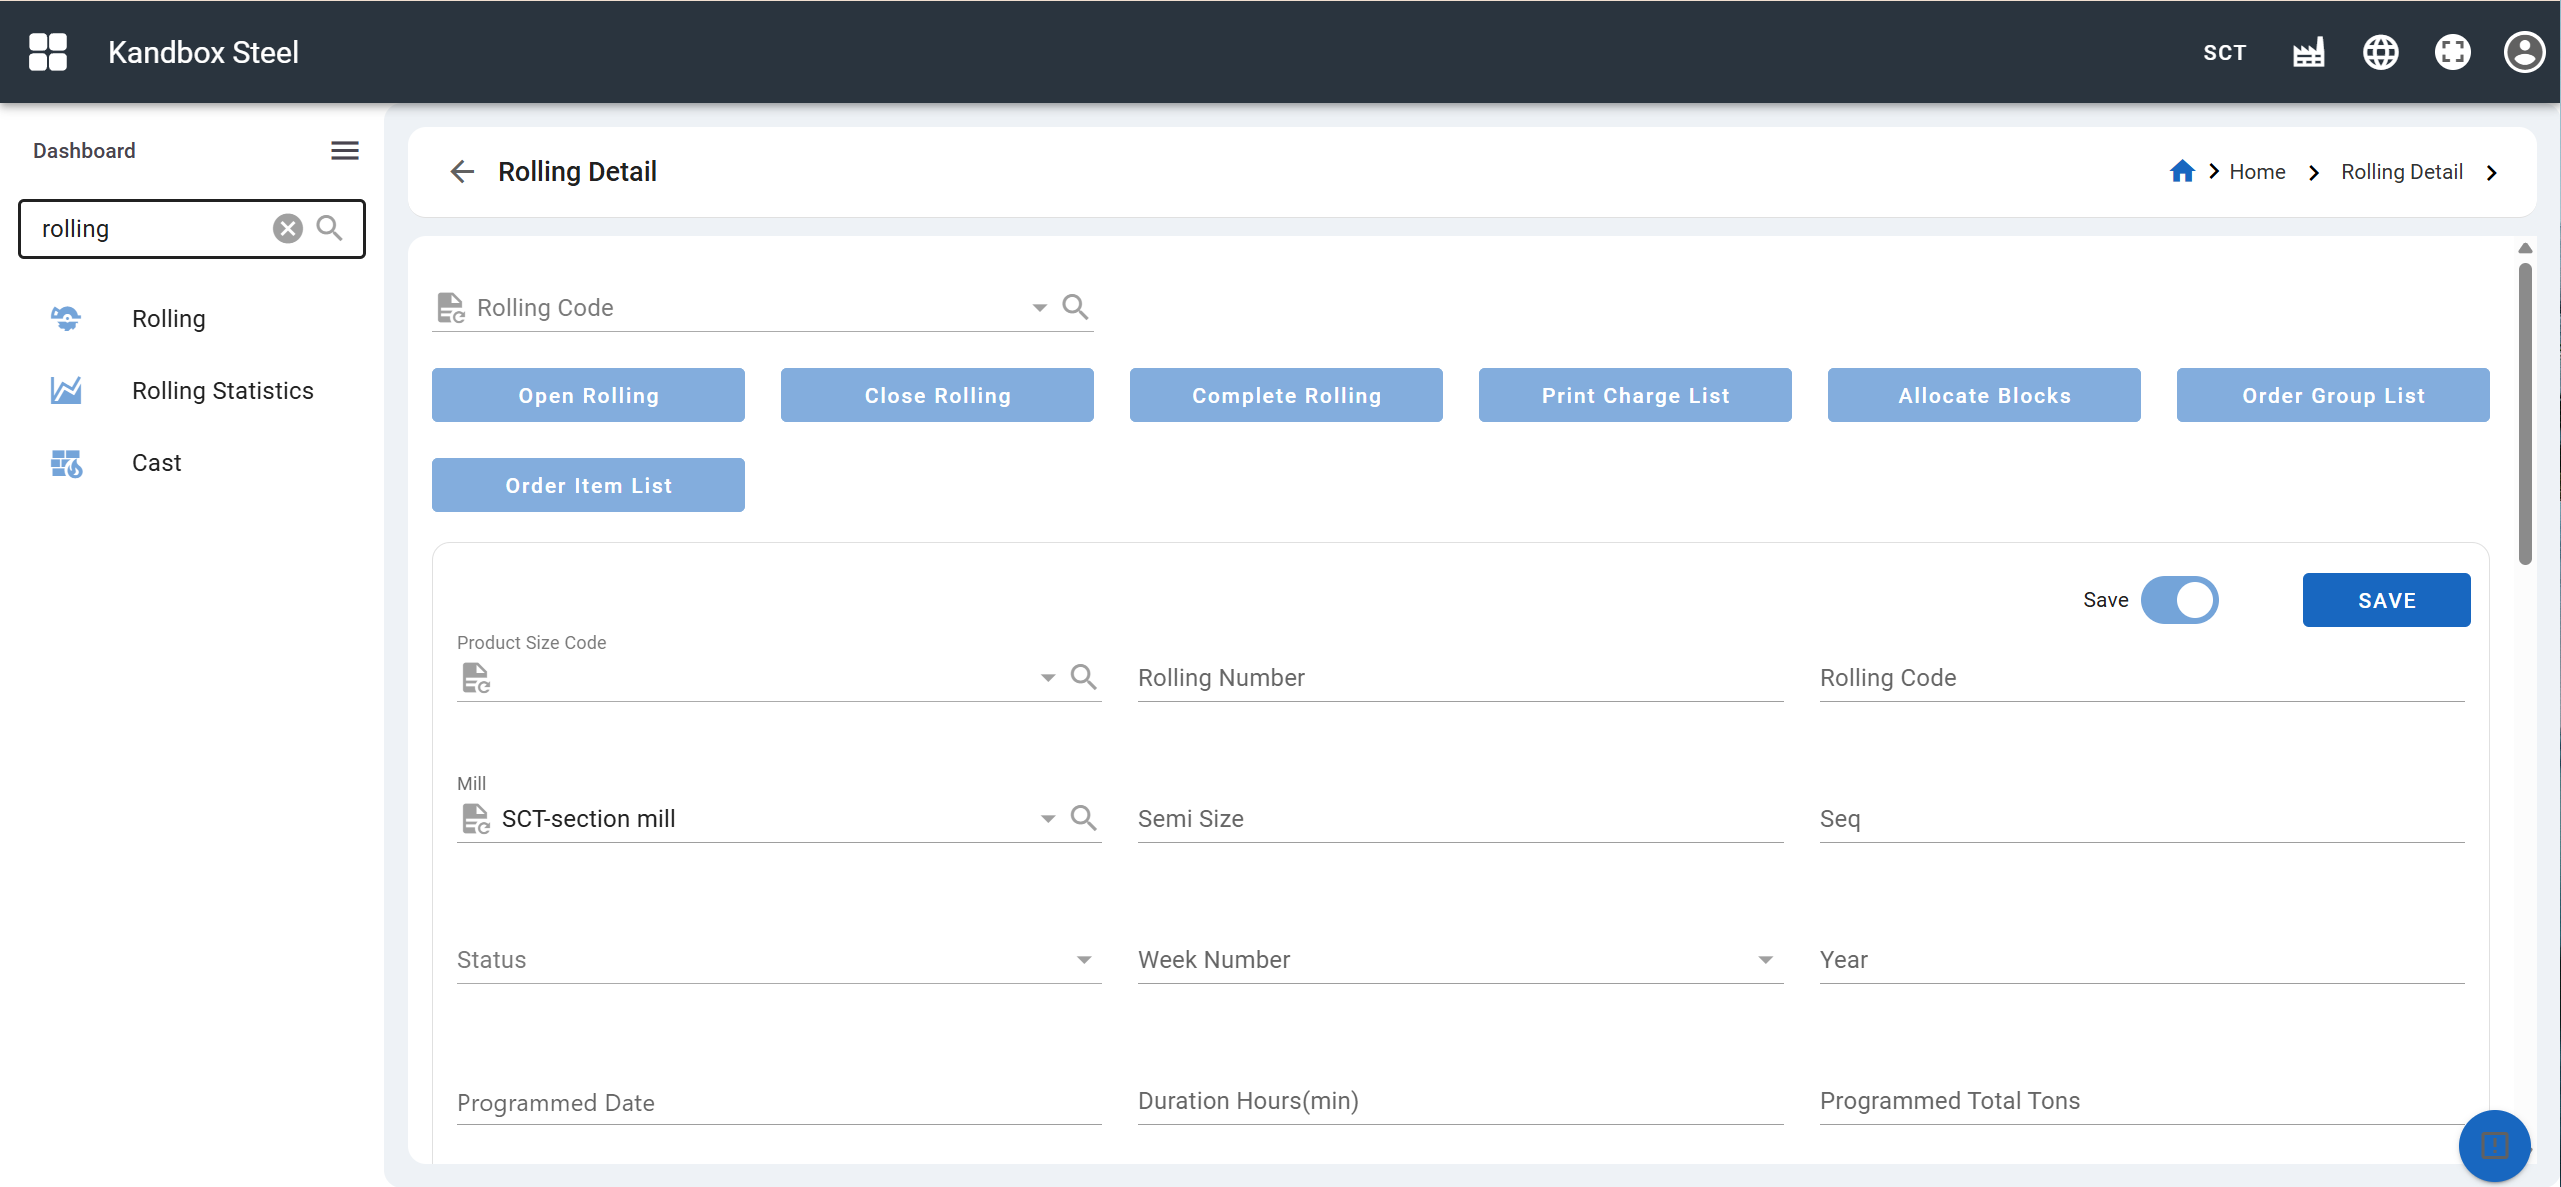
6.1. Add rolling
- Find Rolling menu item from the sidebar.
- Click the New button in the upper right corner to enter the rolling plan creation page.
- Fill in the relevant information and submit.
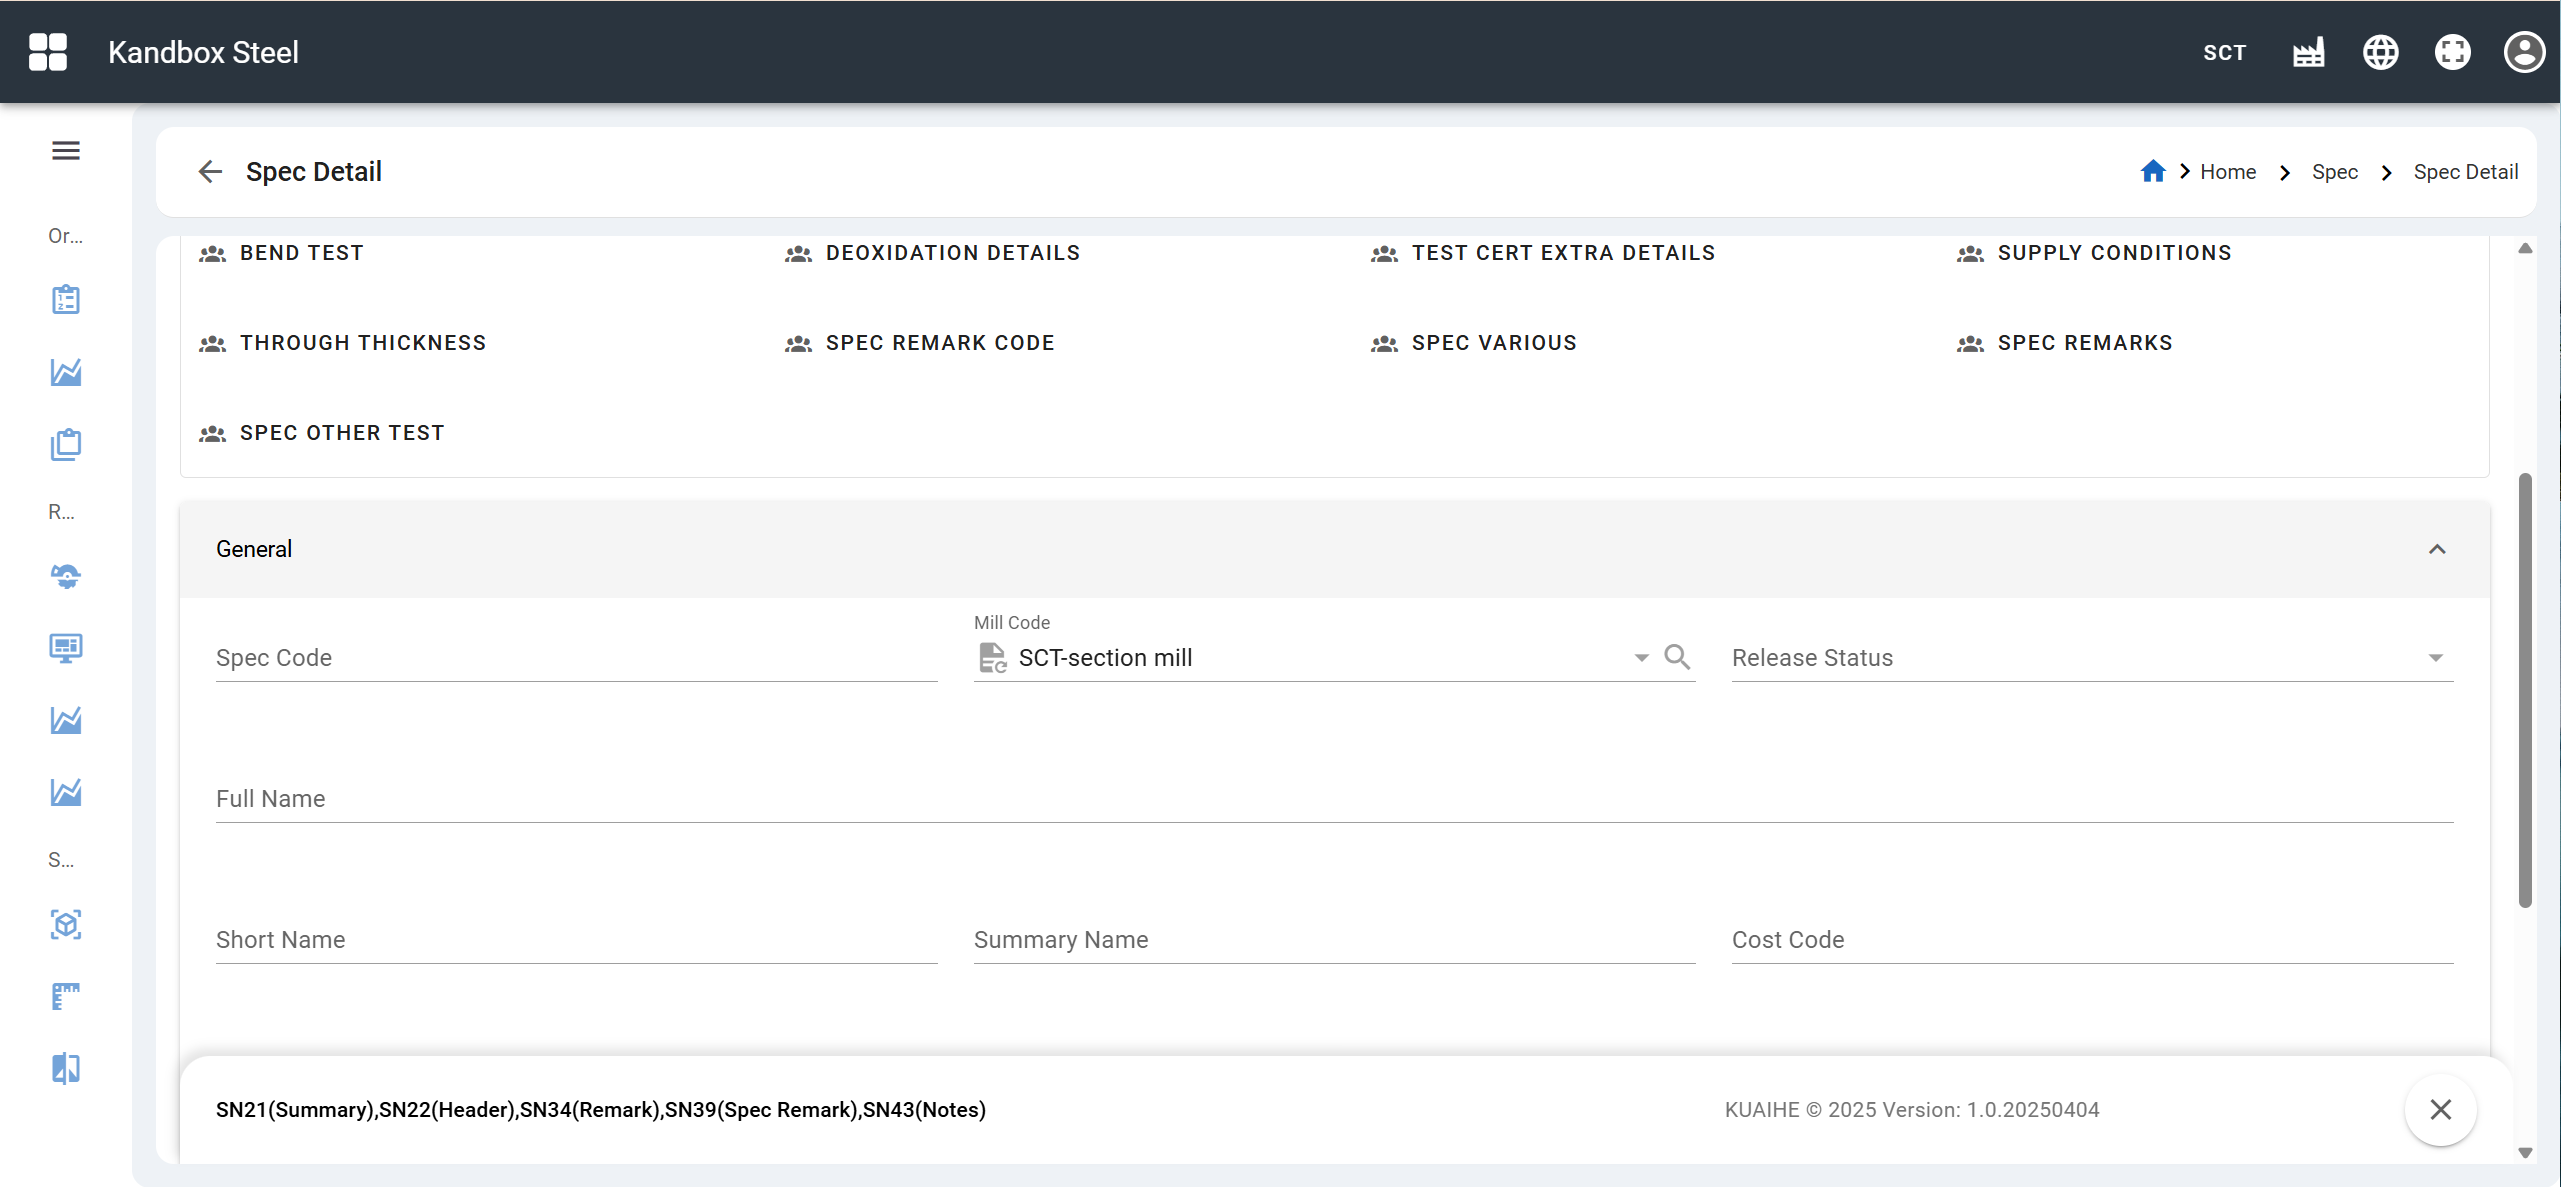
6.2. Add spec
- Find Spec menu item from the sidebar.
- Click the New button in the upper right corner to enter the material specification creation page.
- Fill in the relevant information and submit.
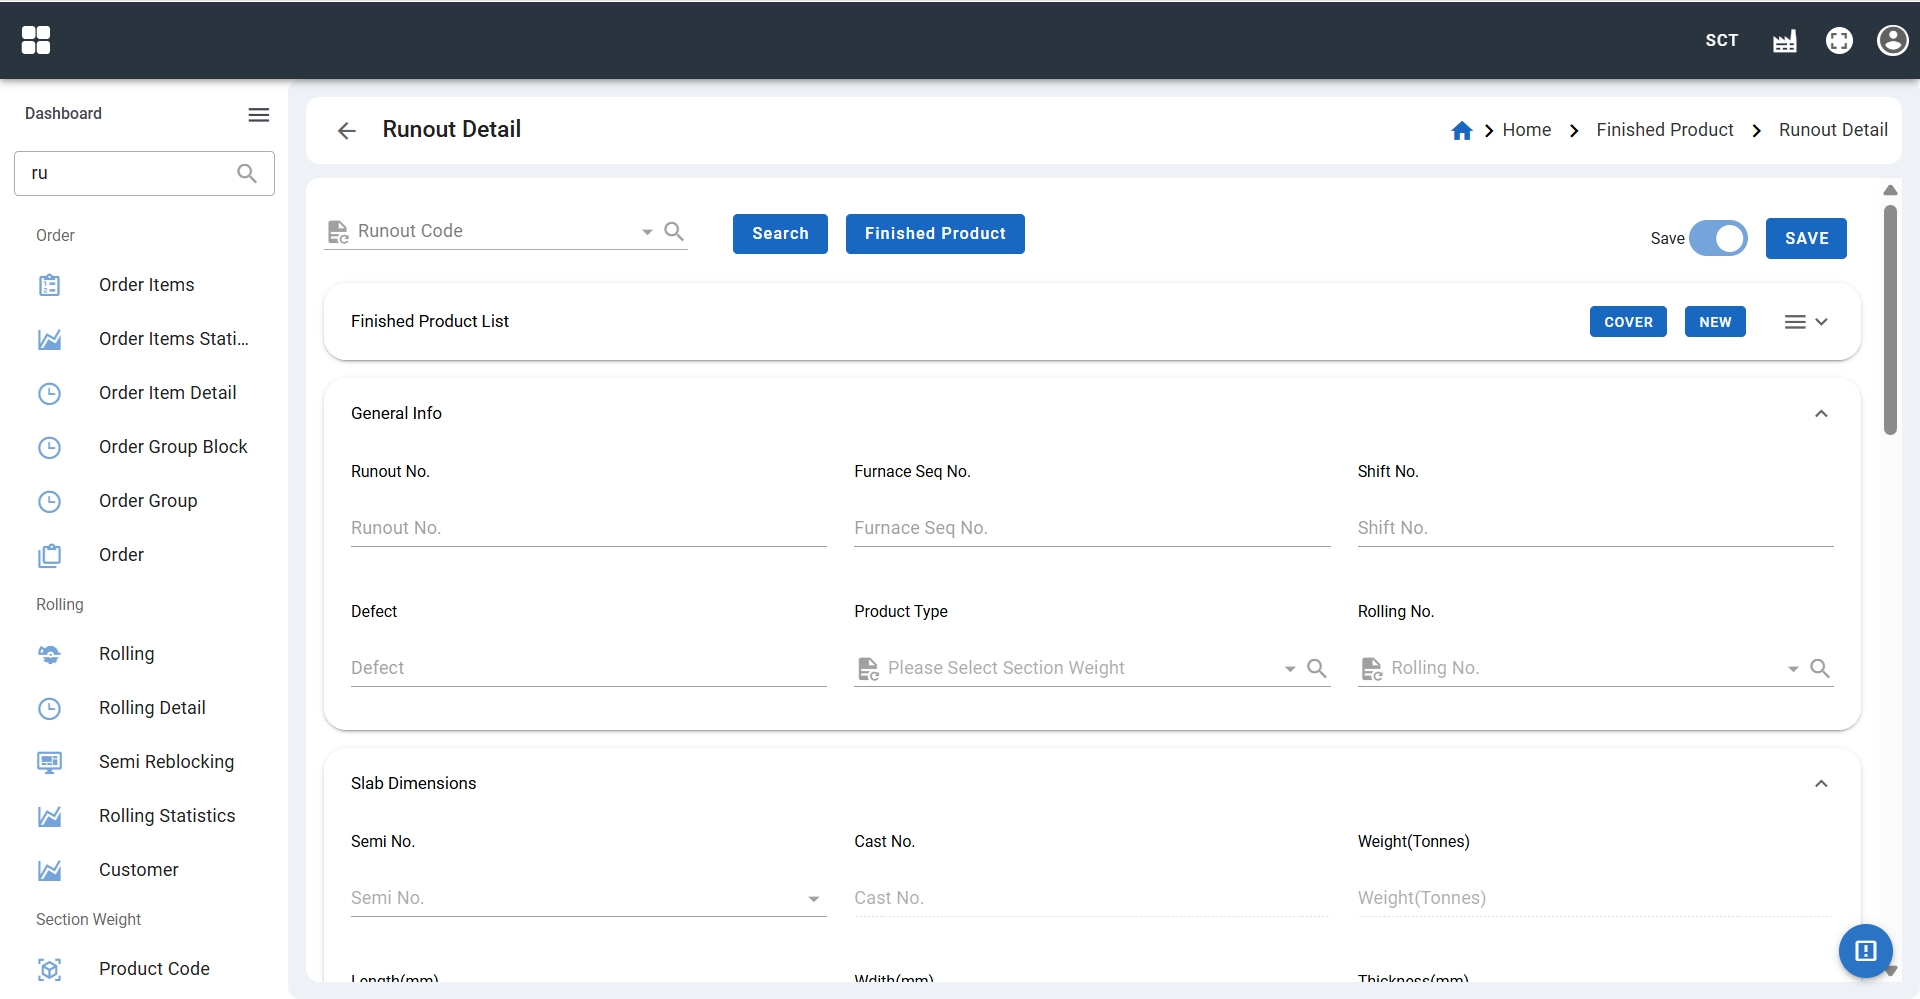
7. Create runout, finished product, and test sample
- Locate the Runout menu item from the sidebar.
- Click the New button in the upper right corner to enter the runout creation page.
- Fill in the relevant information and submit.
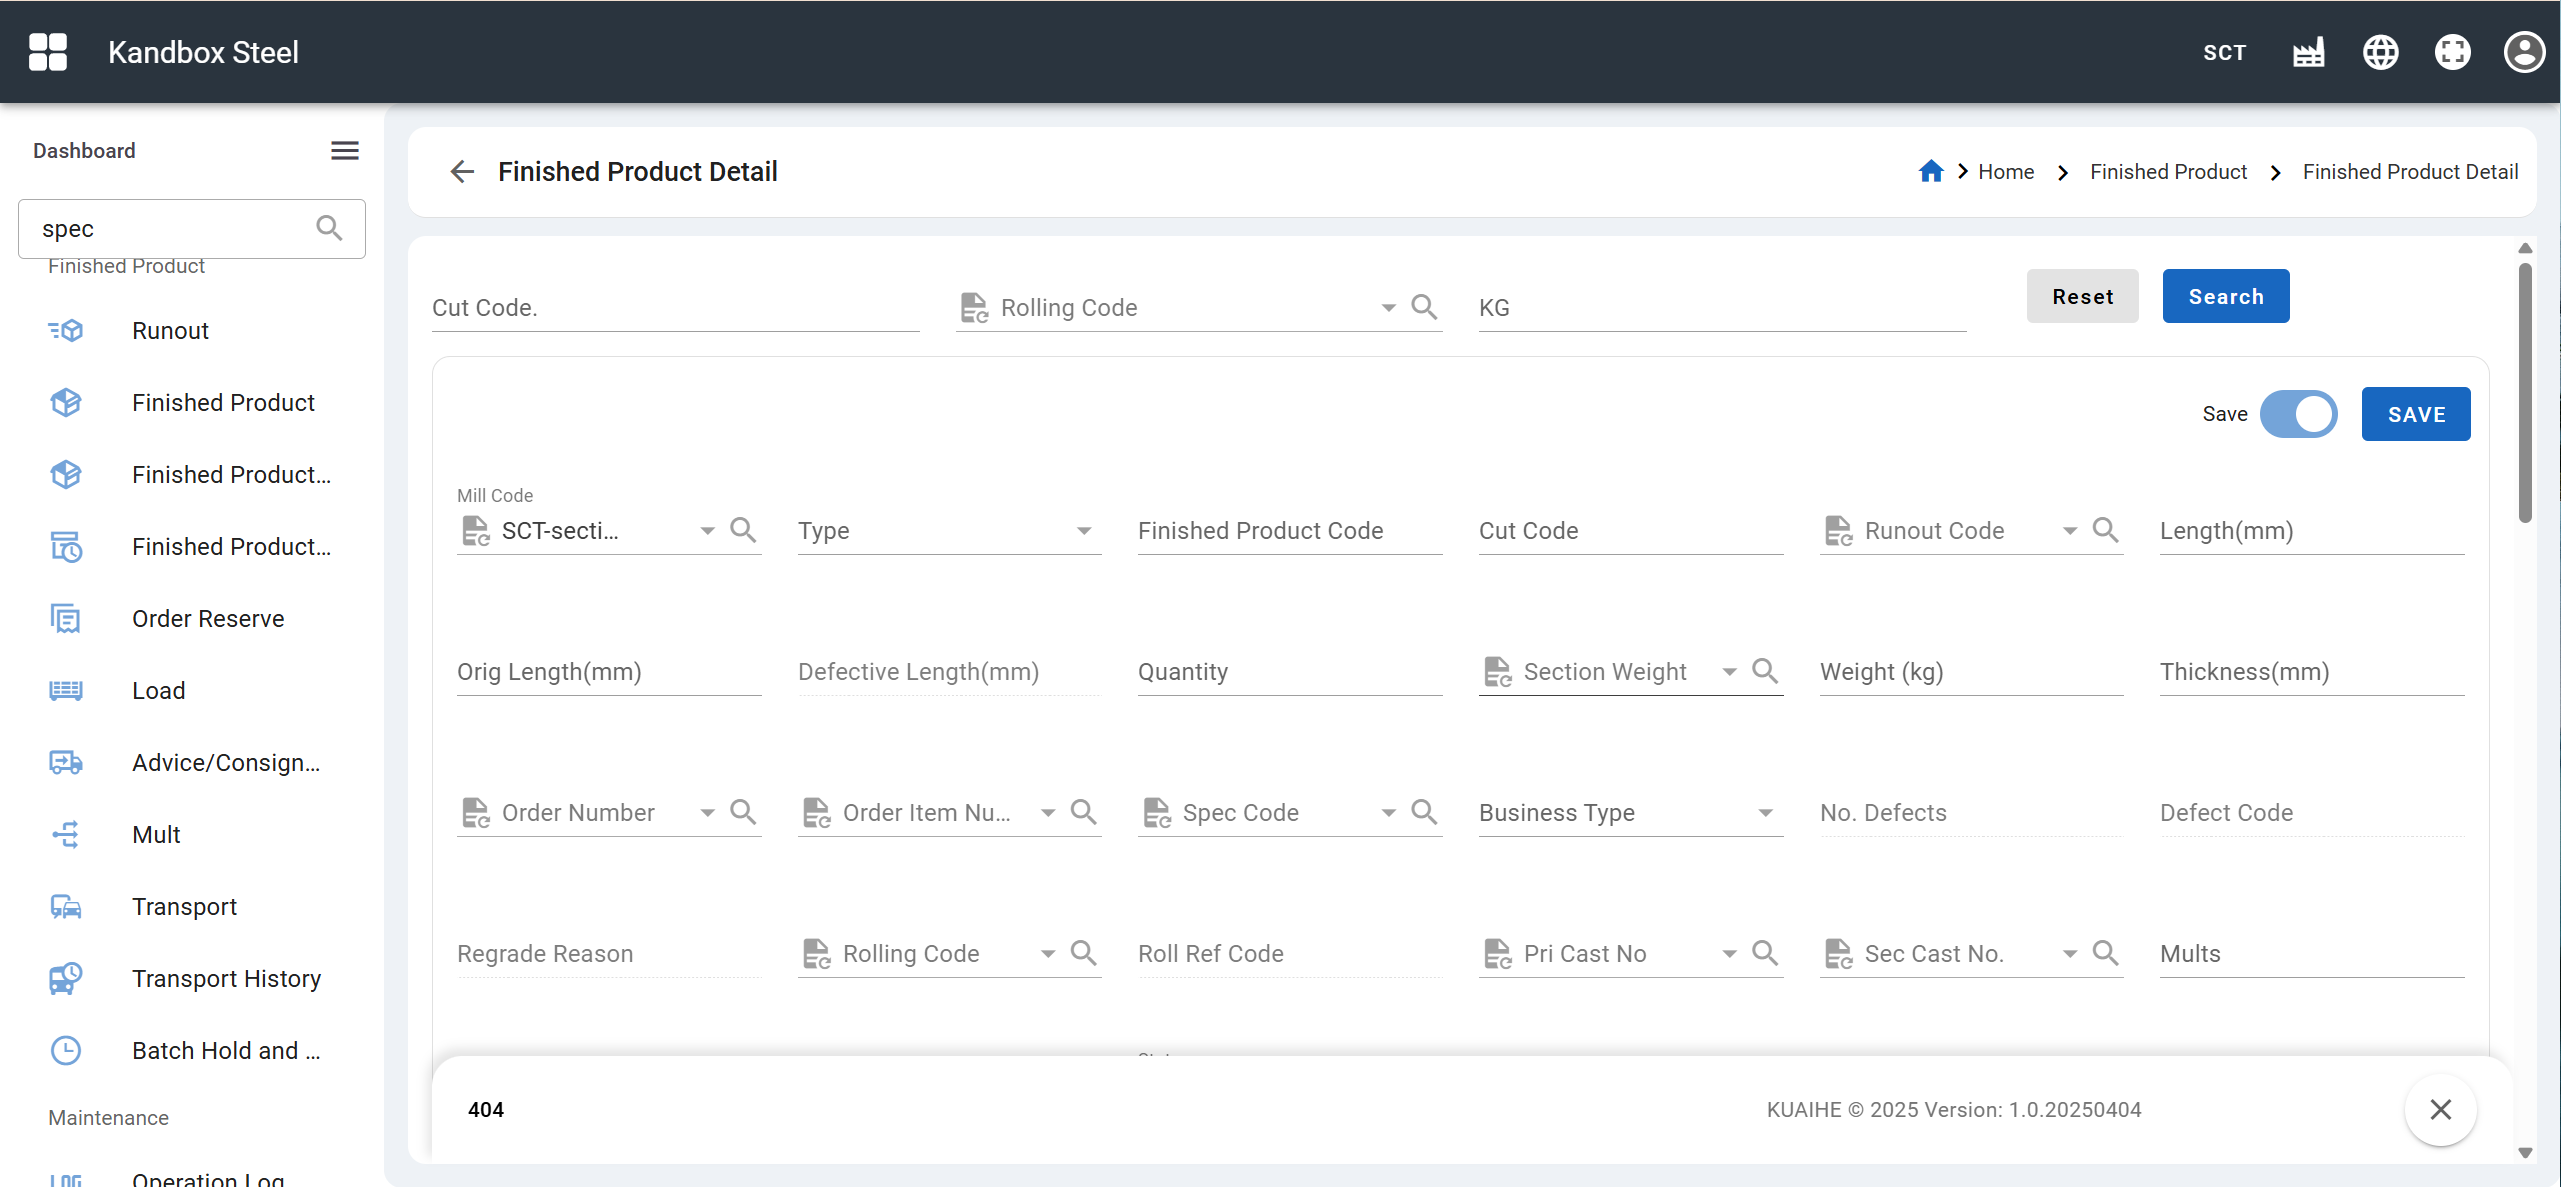
- Locate the Finished Product menu item from the sidebar.
- Click the New button in the upper right corner to enter the finished product creation page.
- Fill in the relevant information and submit.
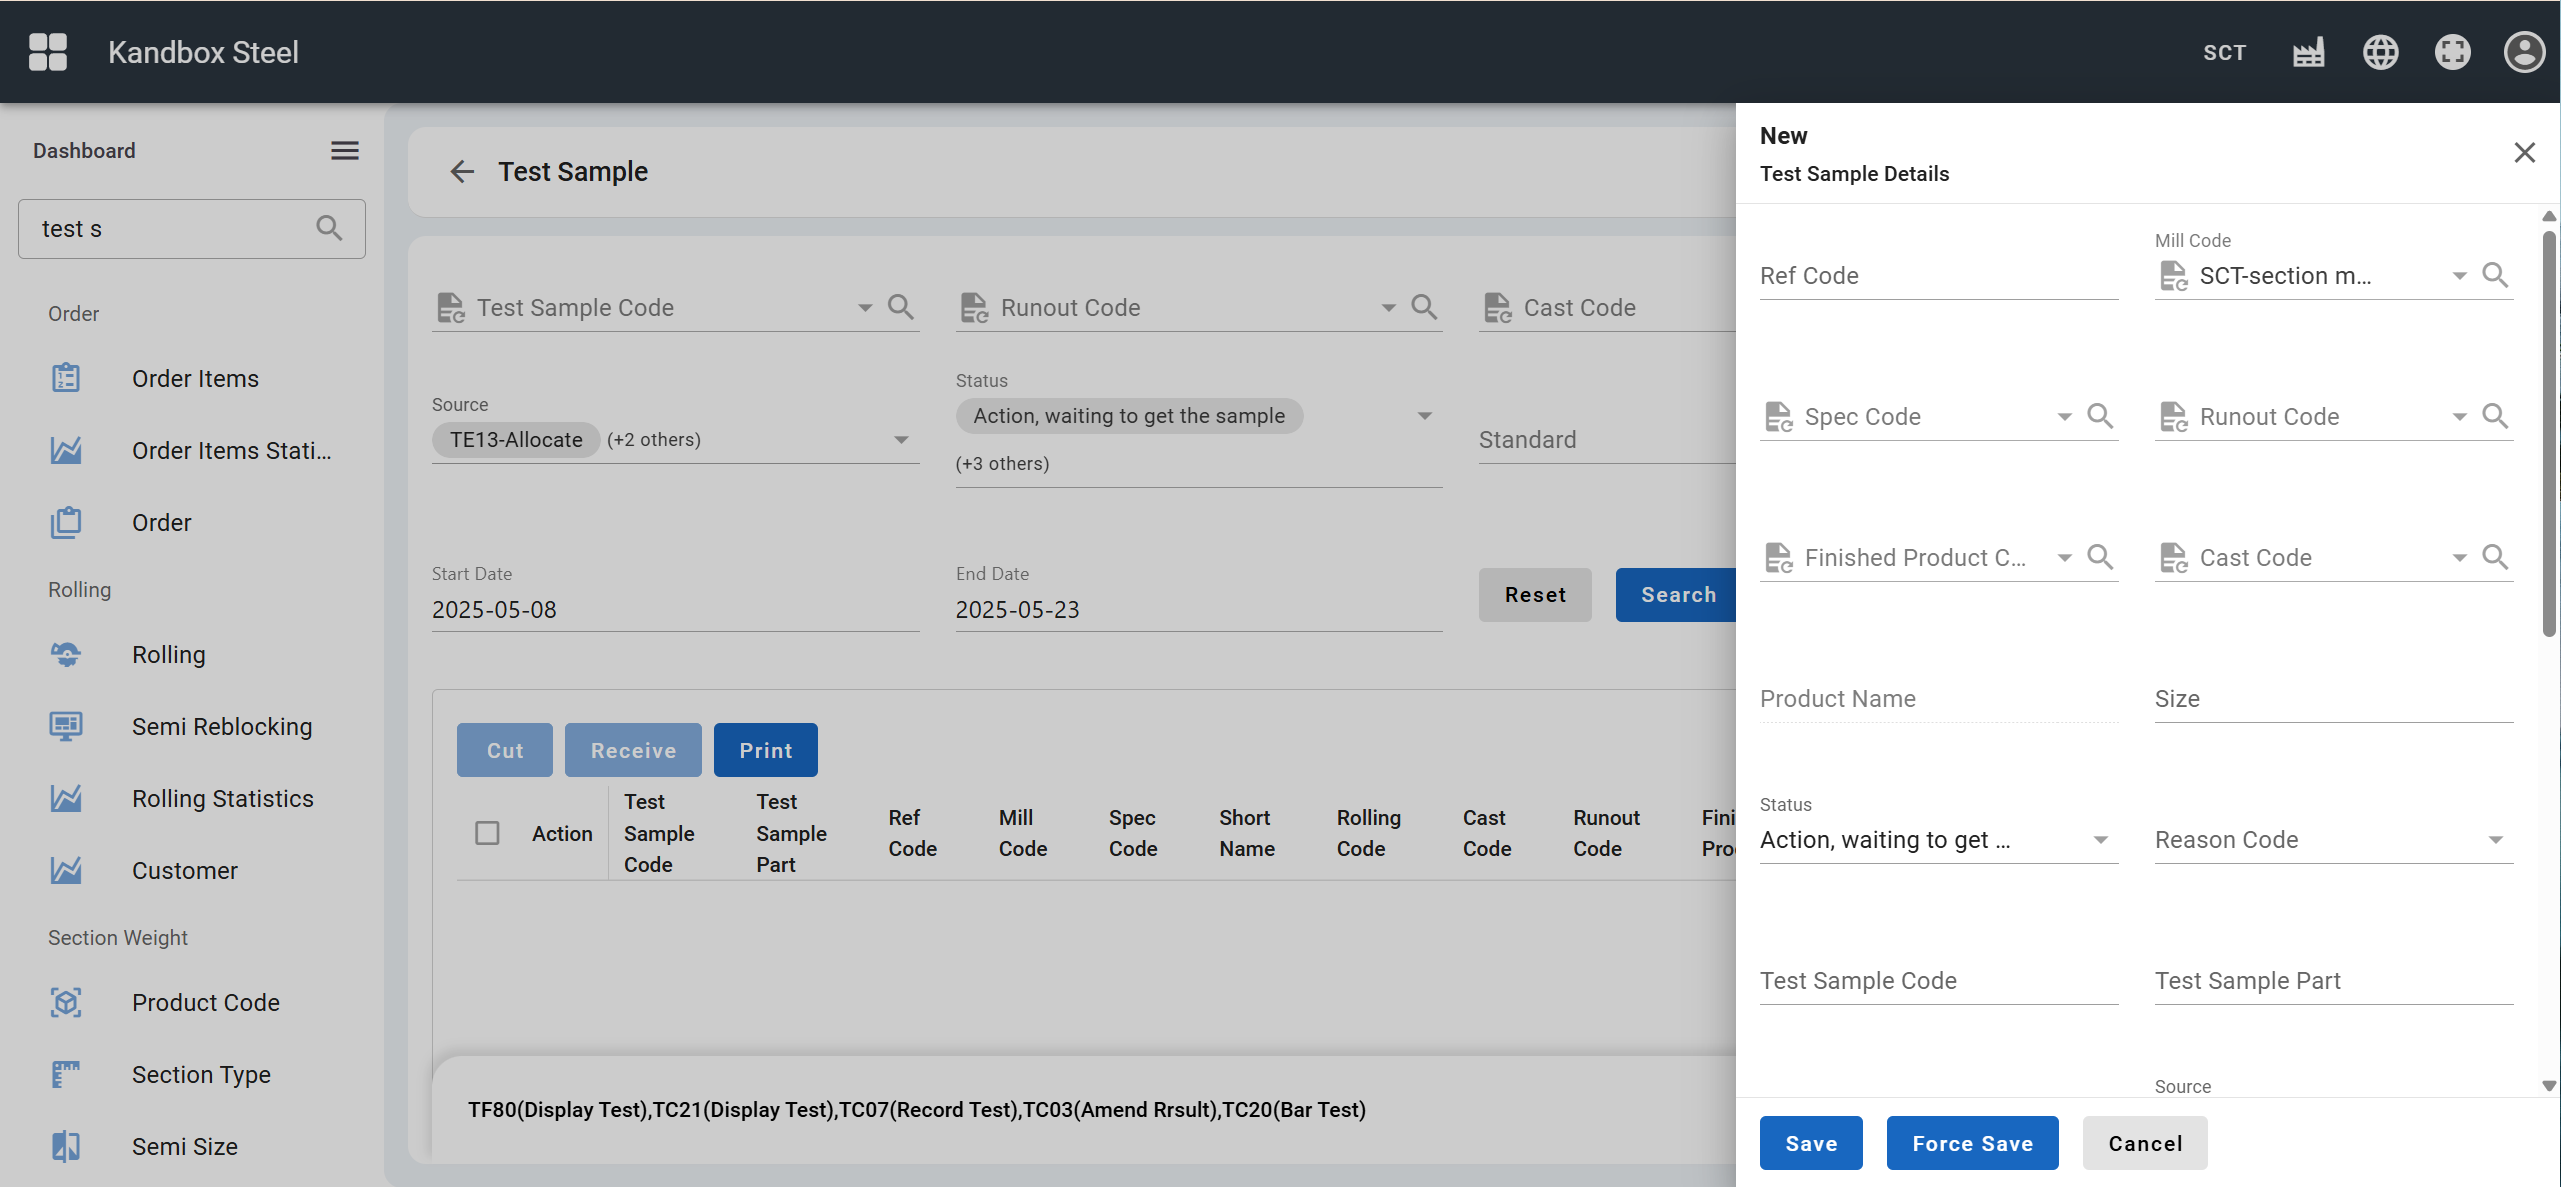
- Locate the Test Sample menu item from the sidebar.
- Click the New button in the upper right corner to enter the test sample creation page.
- Fill in the relevant information and submit.
8. Conduct quality inspection
Note: Quality inspection includes test and covering
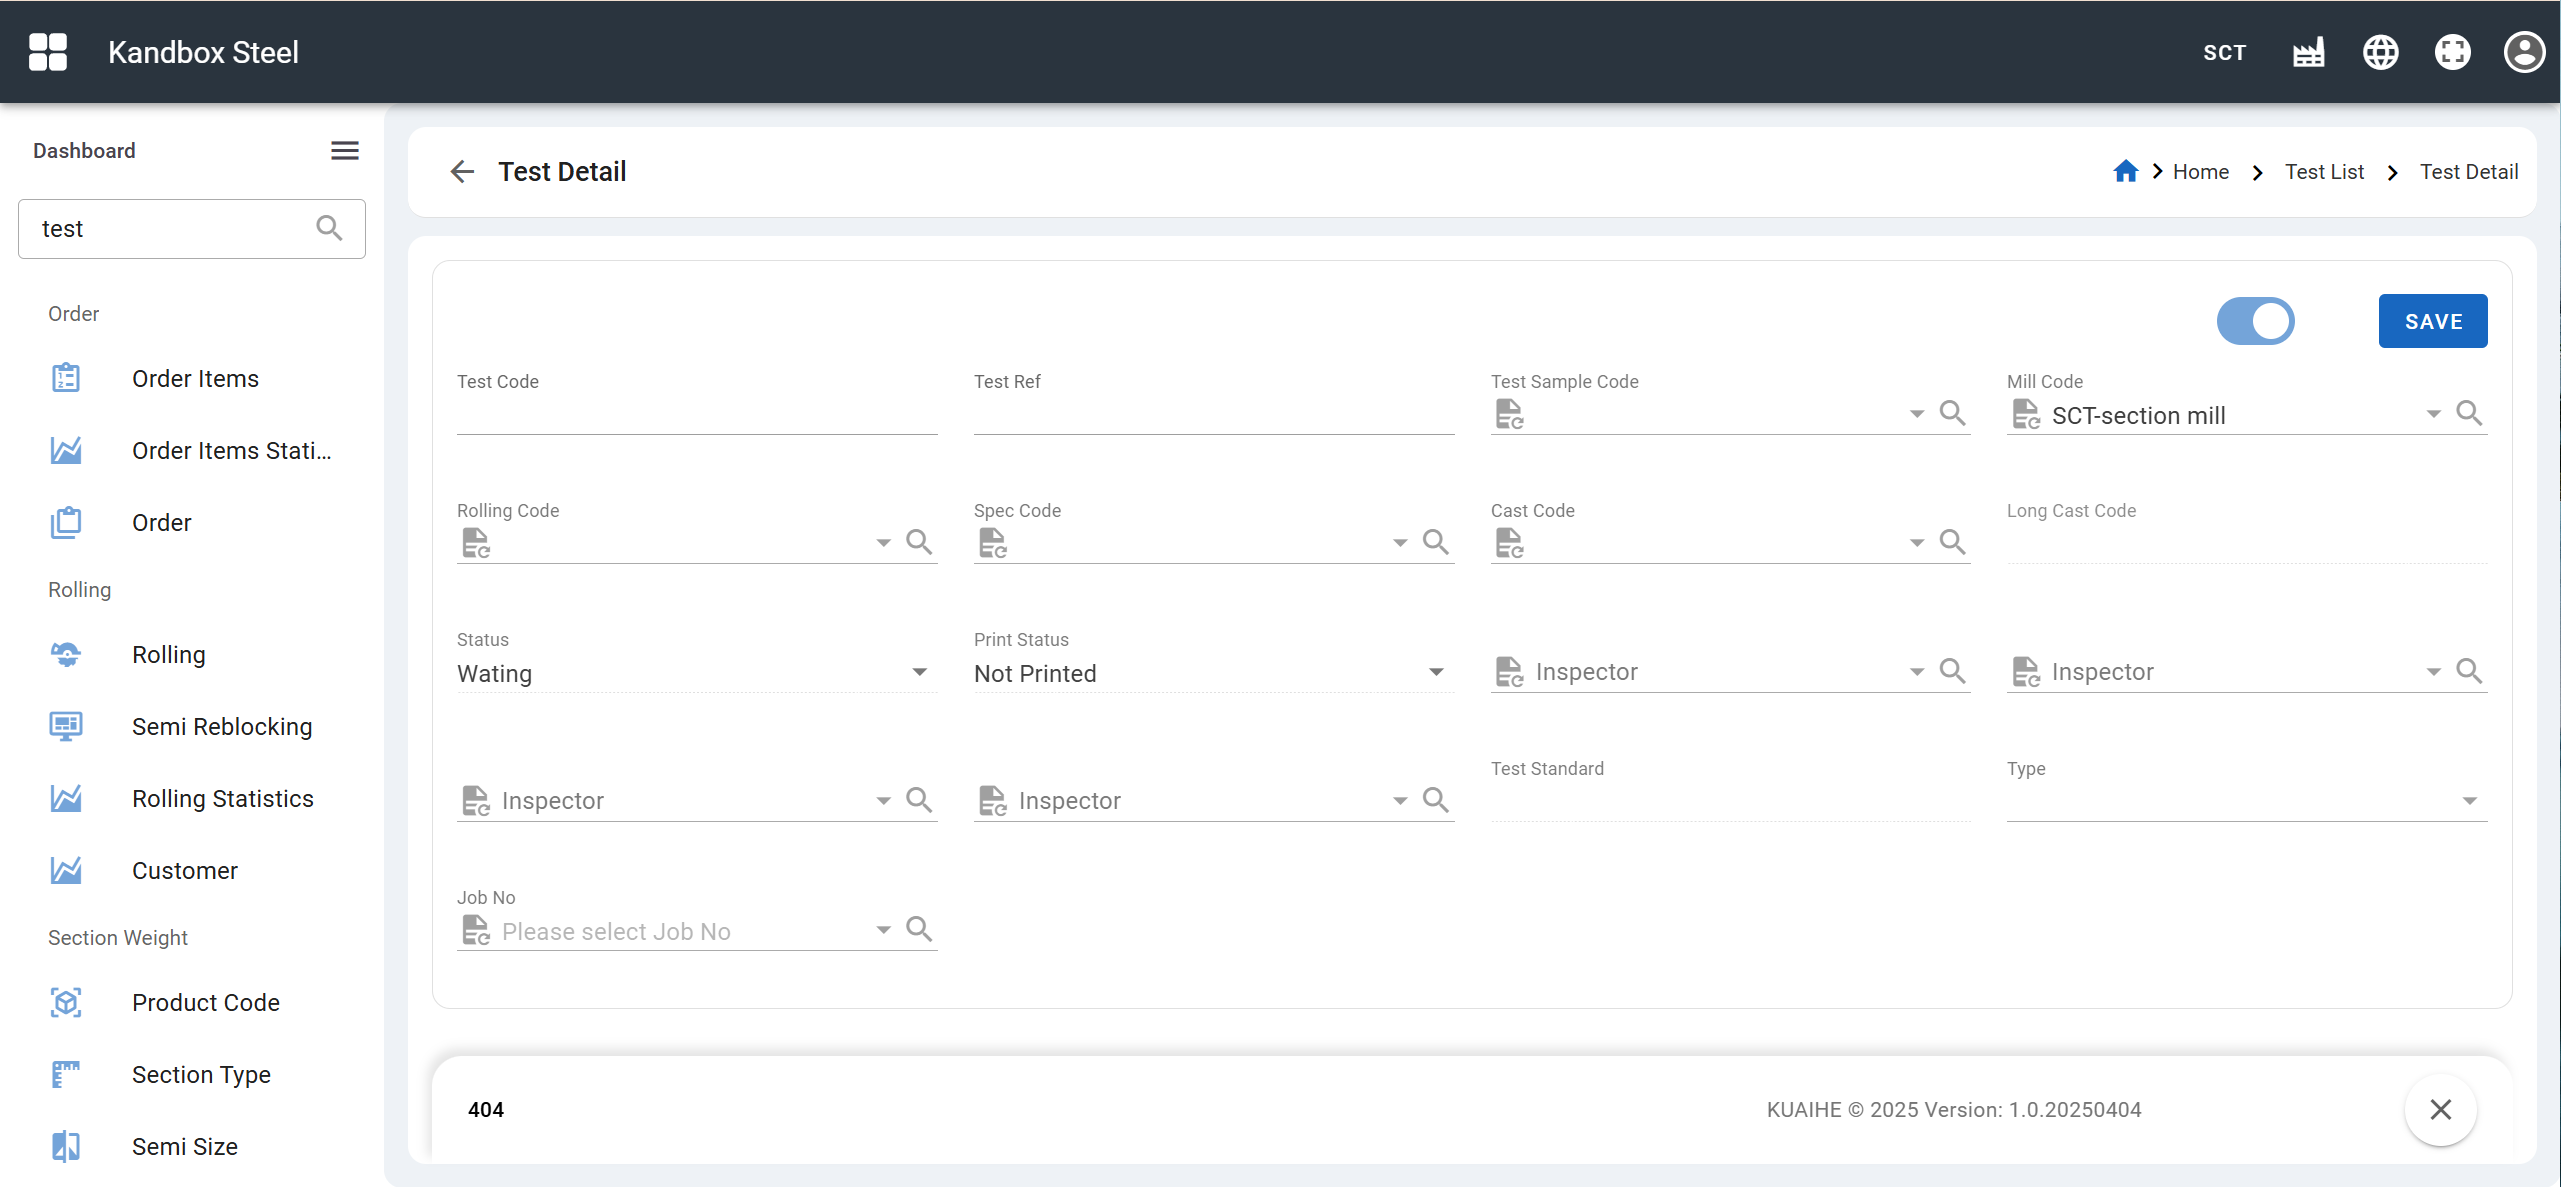
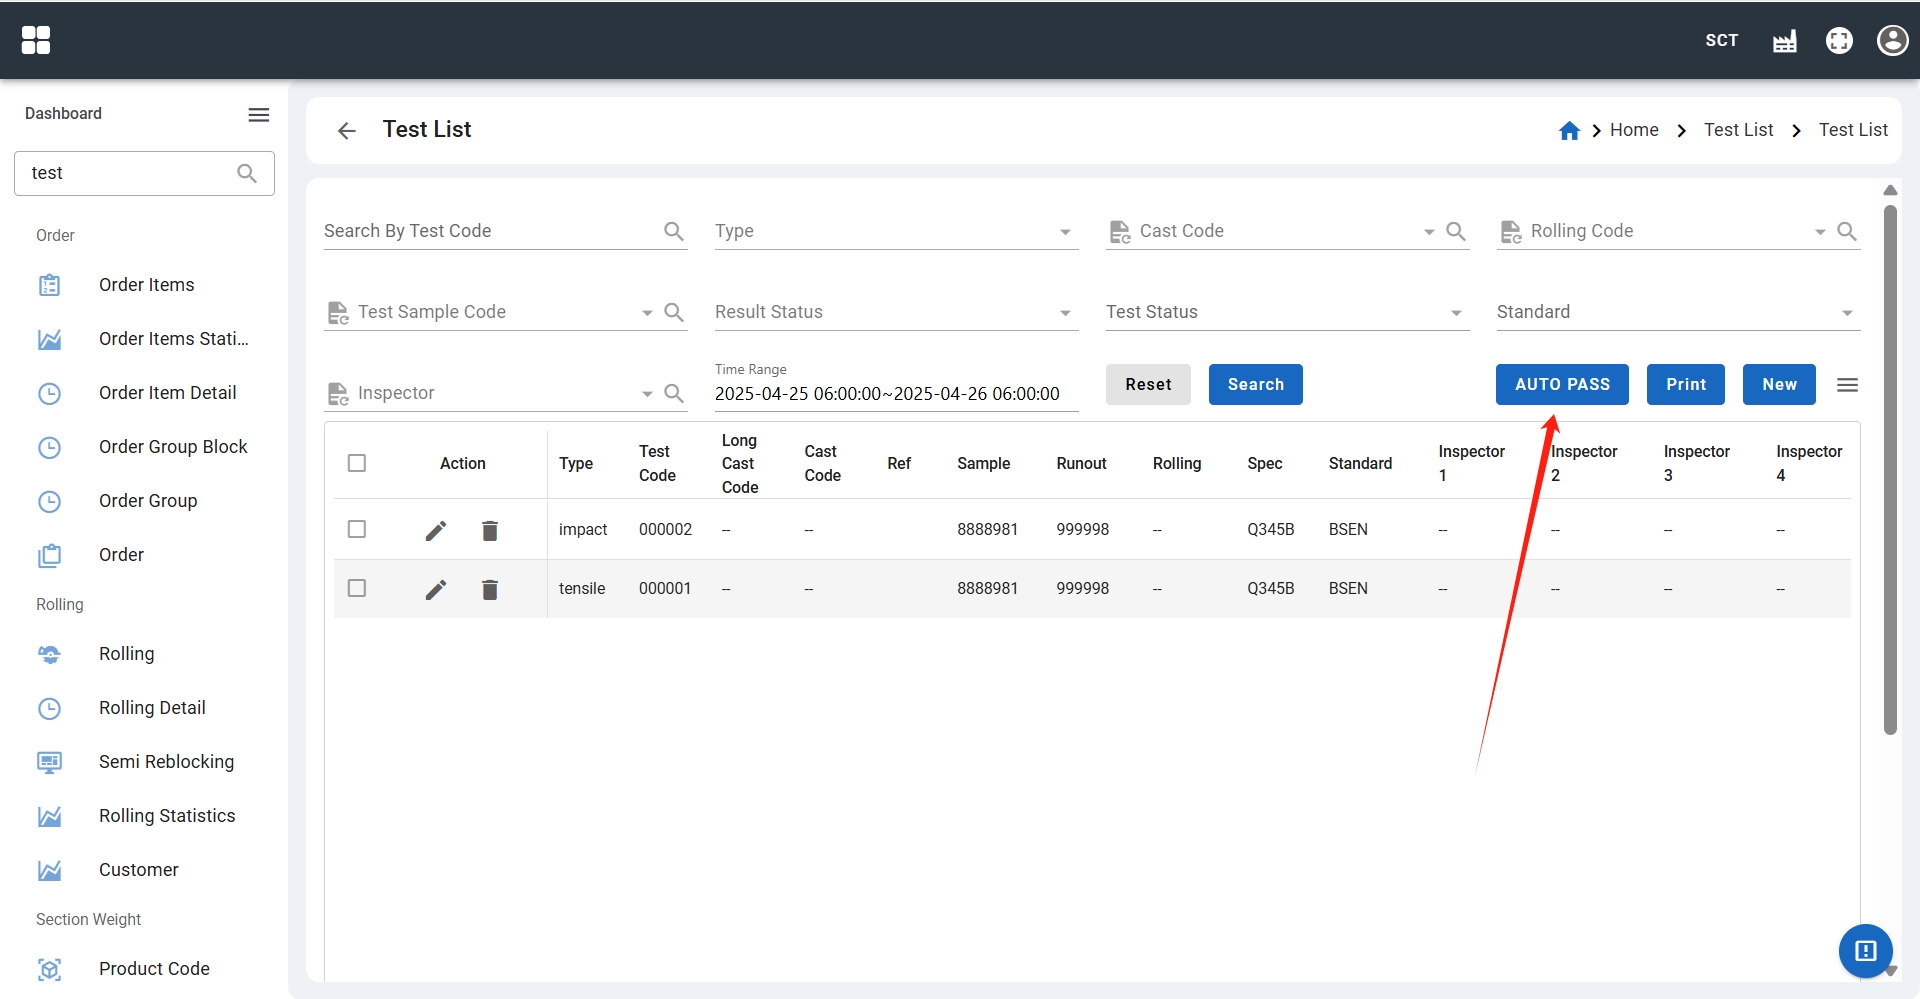
8.1. Add test and auto pass
- Locate the Test menu item from the sidebar.
- Click the New button in the upper right corner to enter the test creation page.
- Fill in the relevant information and submit.
- Return to the test list page and click the Auto Detection button.

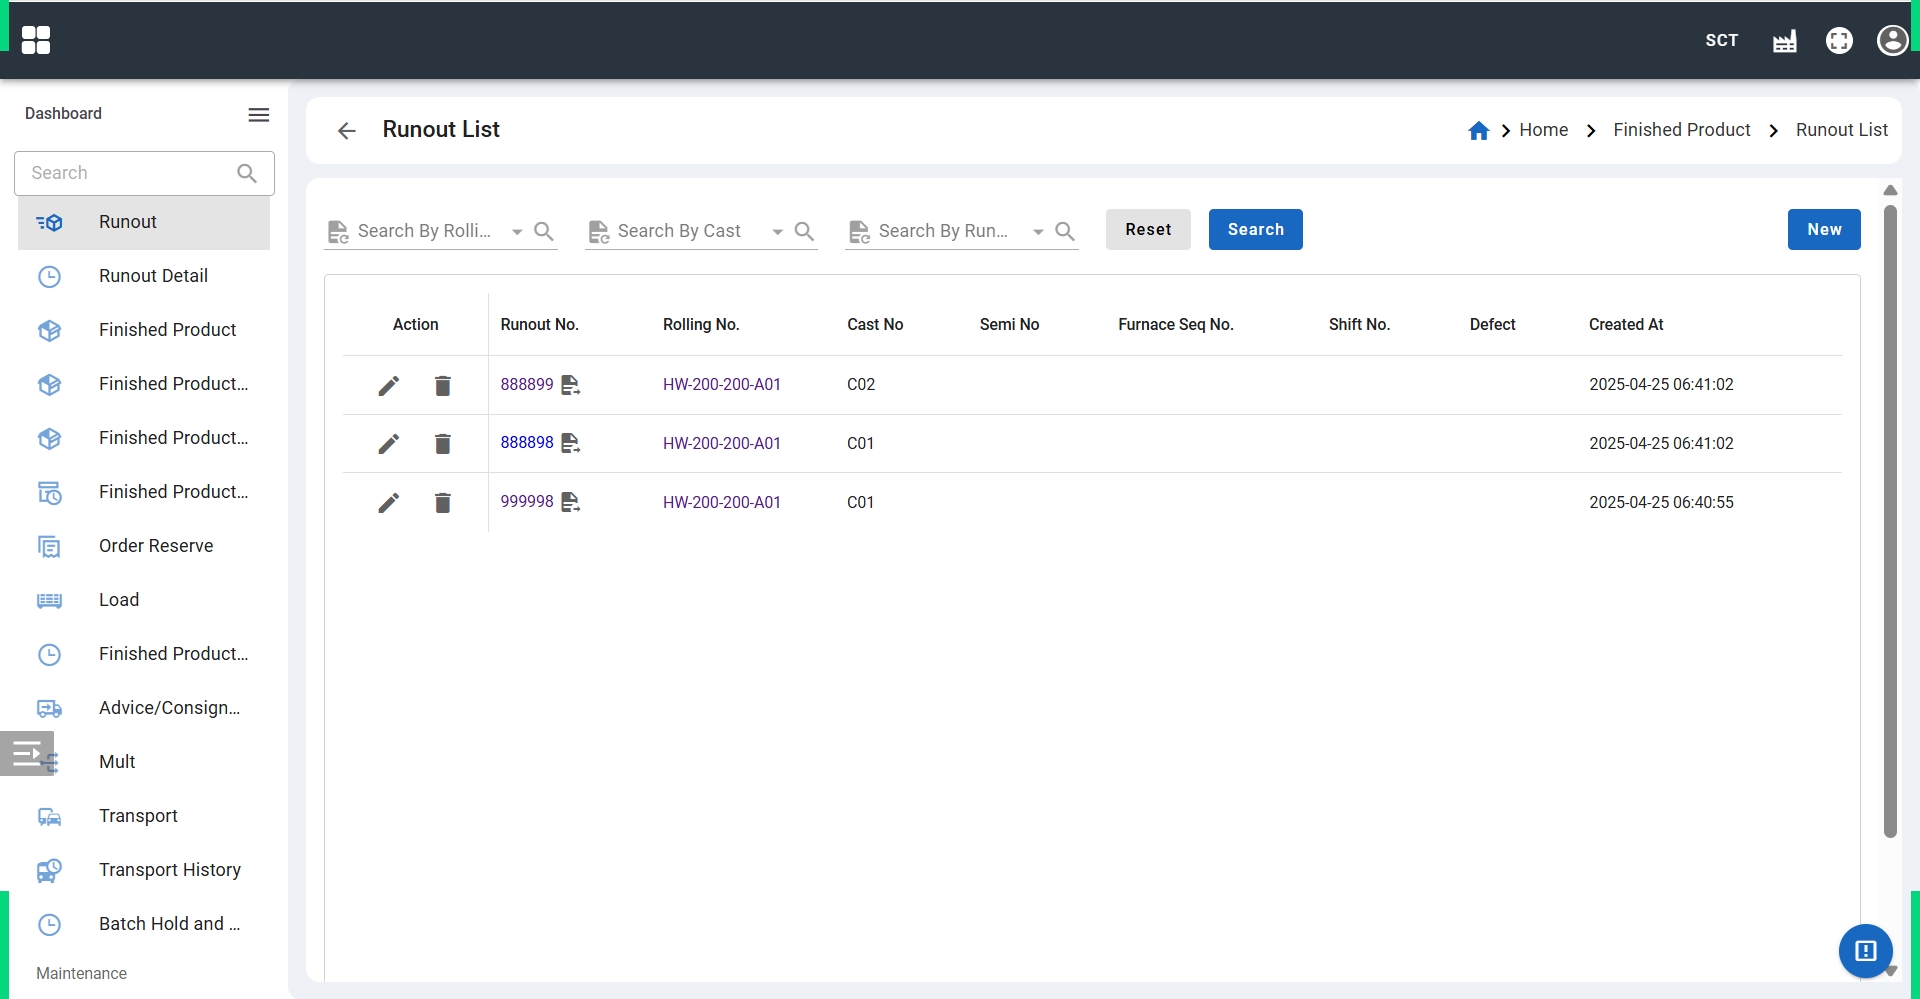
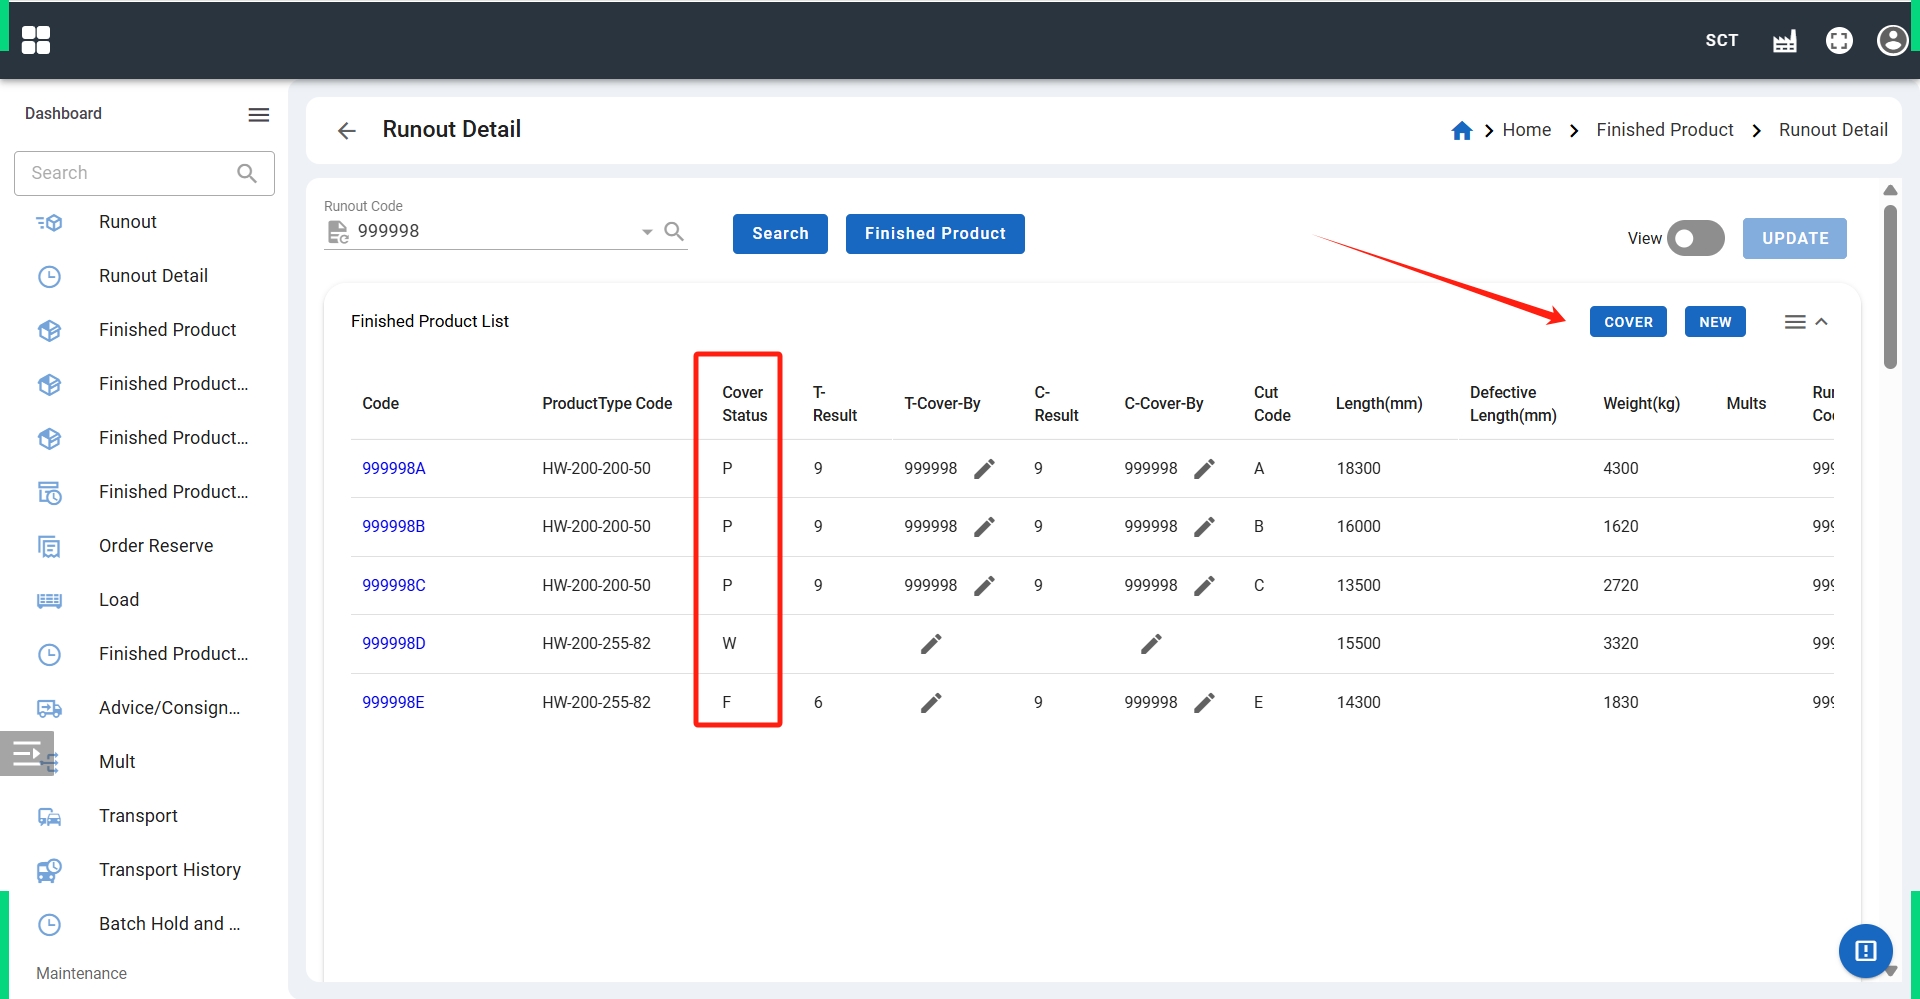
8.2. Covering
- Locate the Runout menu item from the sidebar.
- Select a runout to cover its corresponding finished products.
- View the covering results.
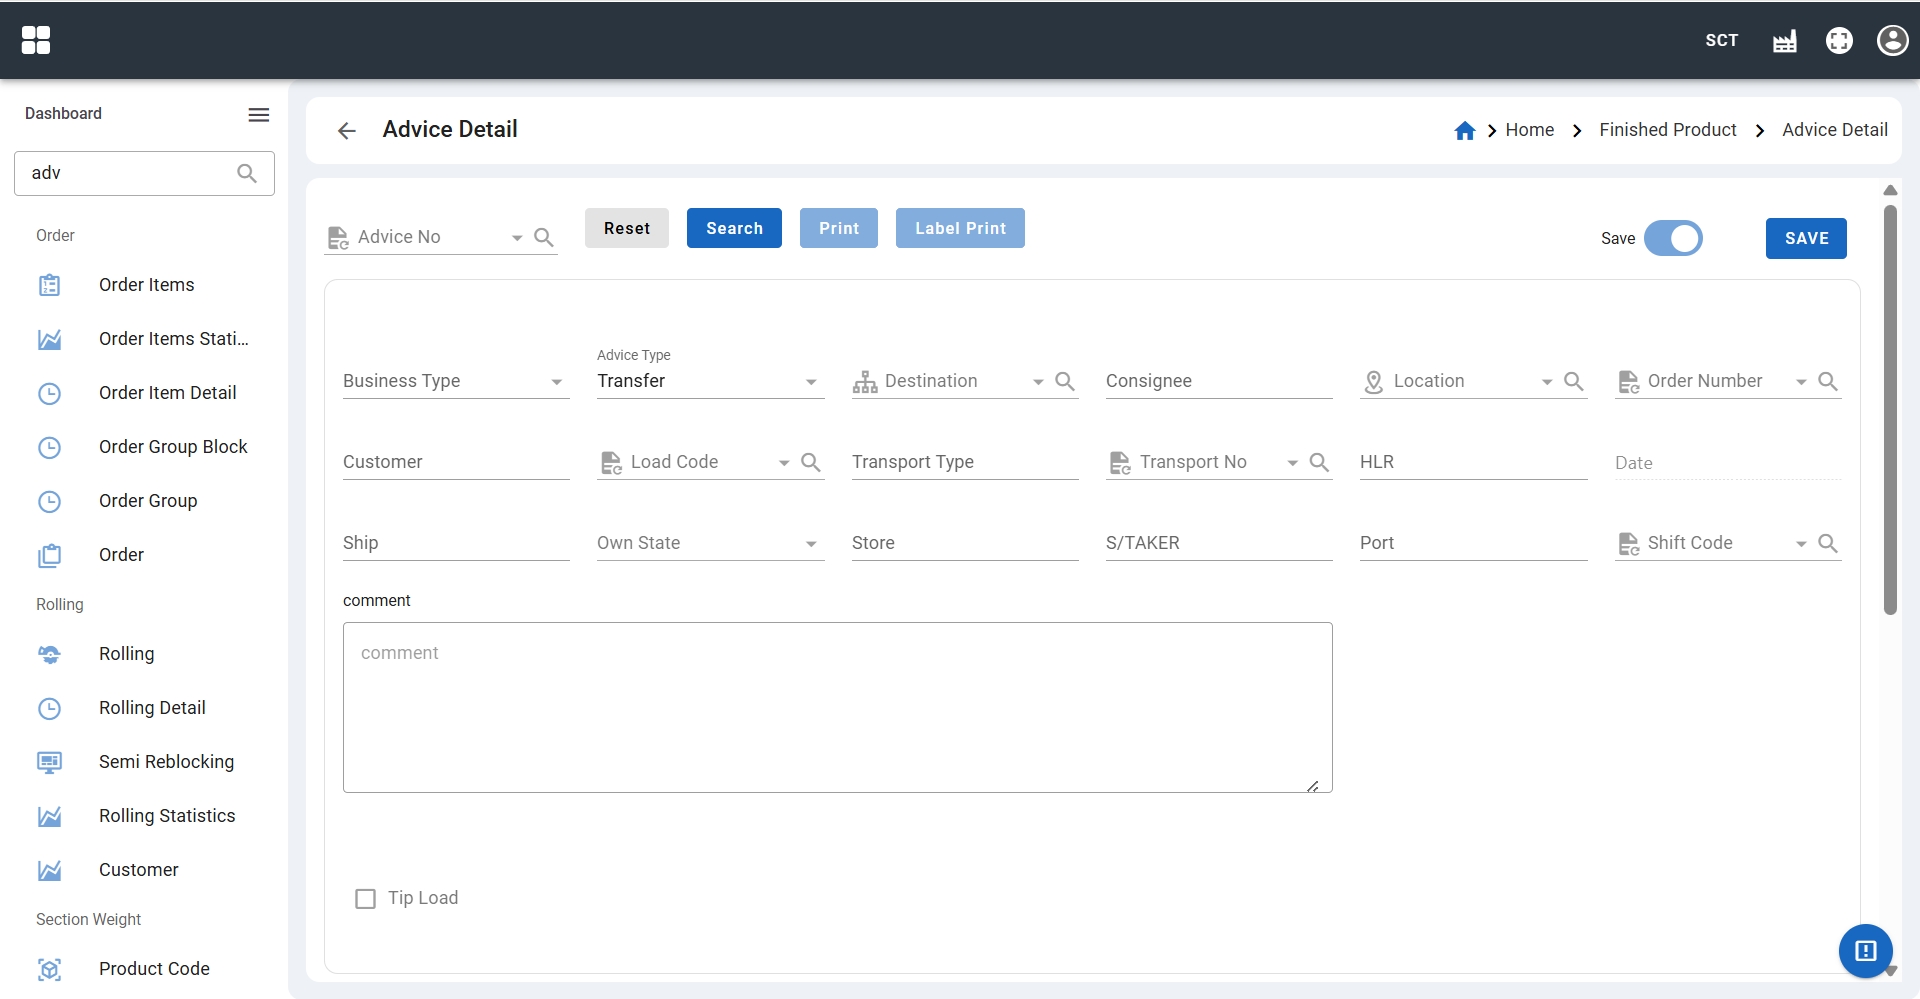
9. Notify for delivery
- Locate the Advice menu item from the sidebar.
- Click the New button in the upper right corner to enter the advice creation page.
- Fill in the relevant information and submit.